Applications
Masonry

Applications
Masonry
 +30 2103633512
 Product Categories
What do we need?
Roller, trowel, brush, sponge, notched and stainless-steel finishing trowel, spray gun or plastering machine, plastering trowel
STEP 1
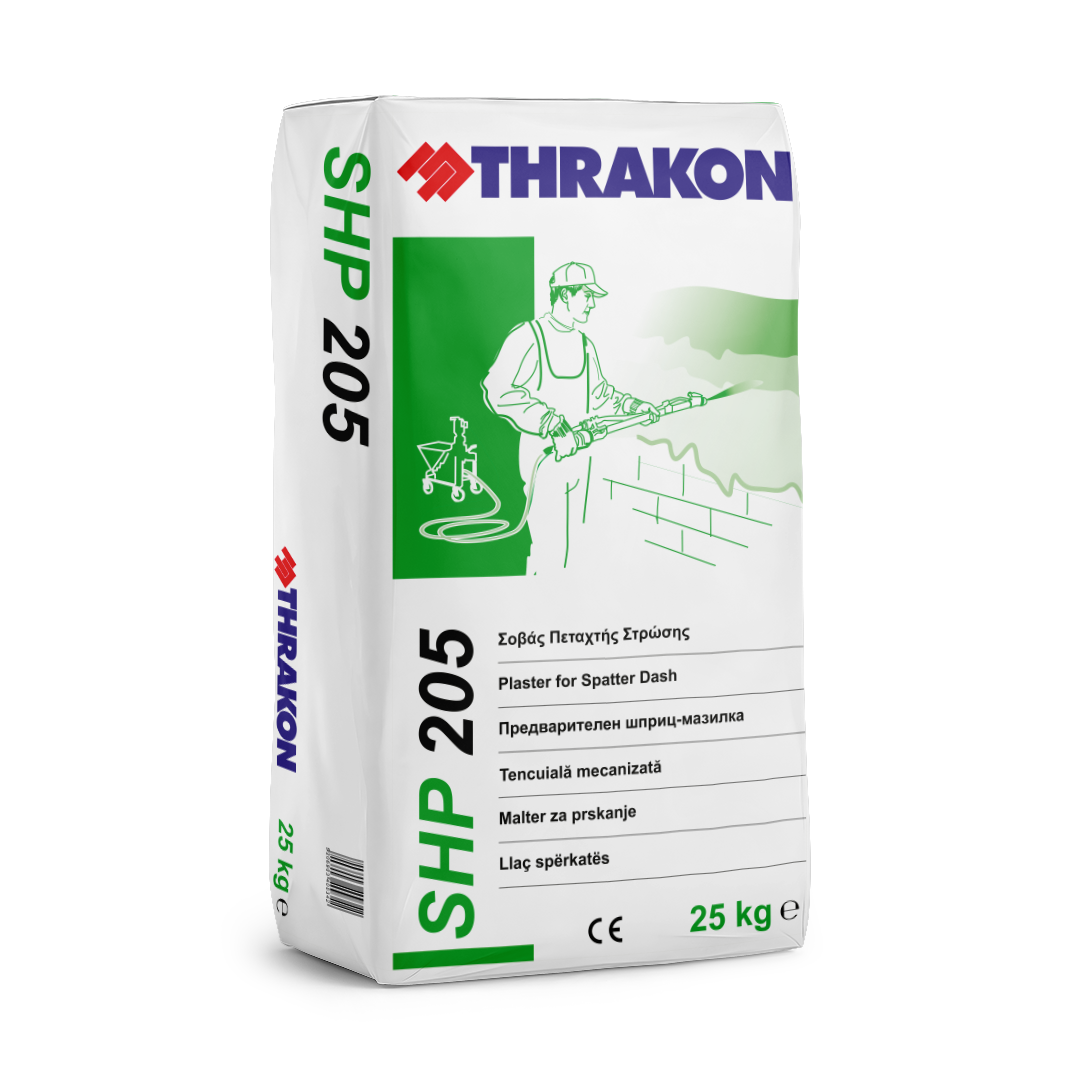
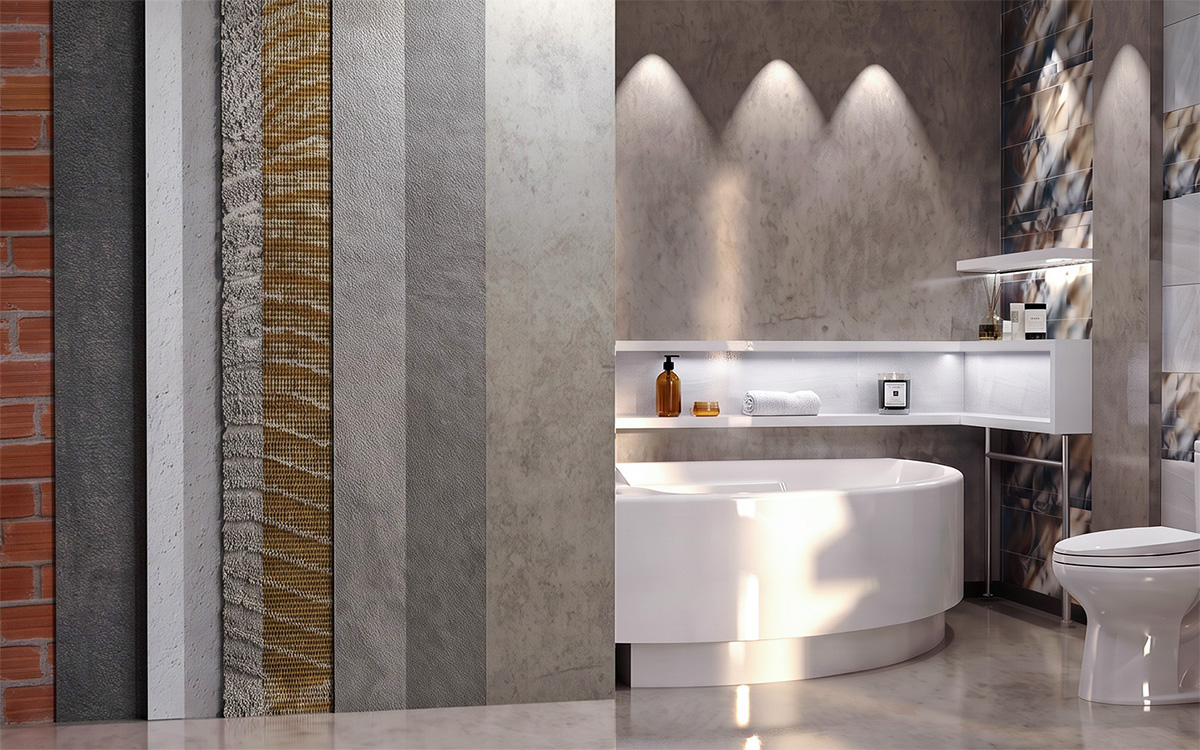
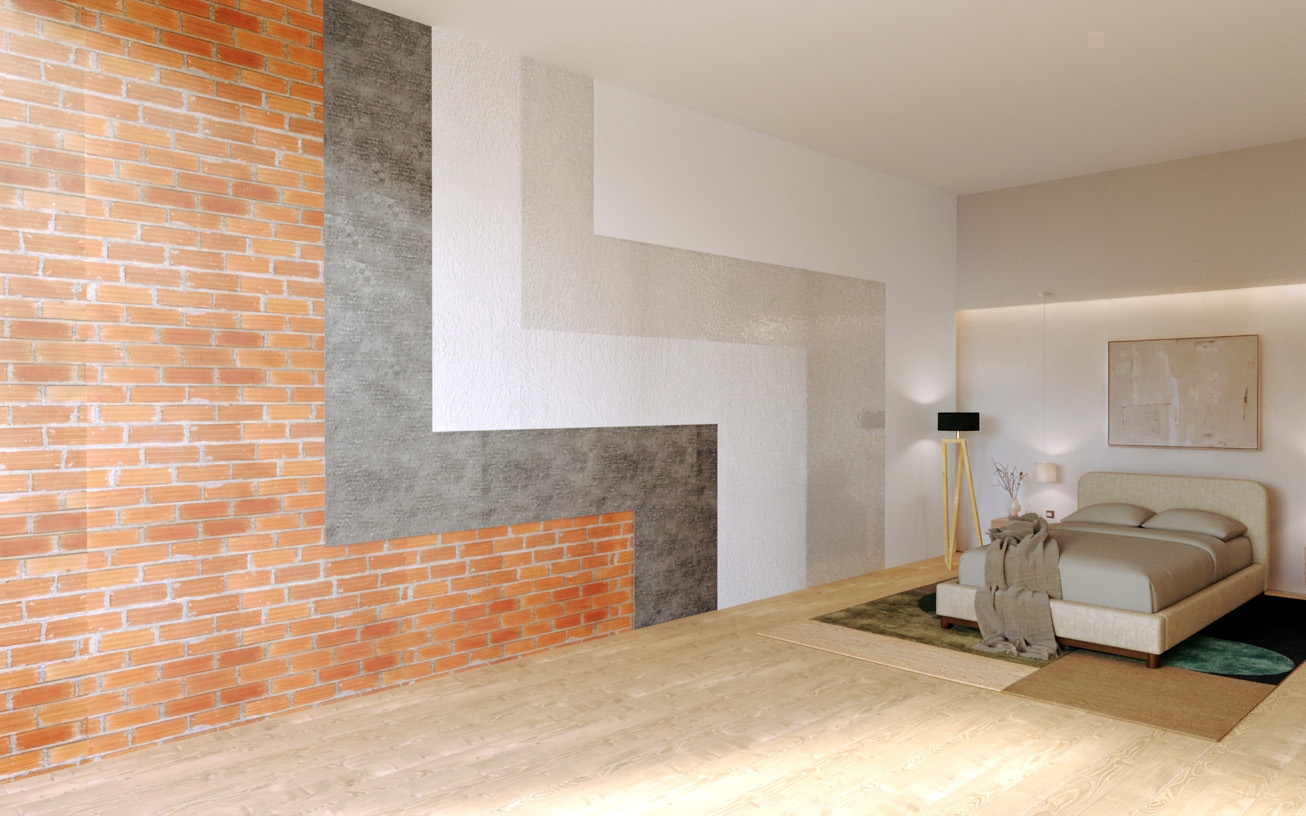
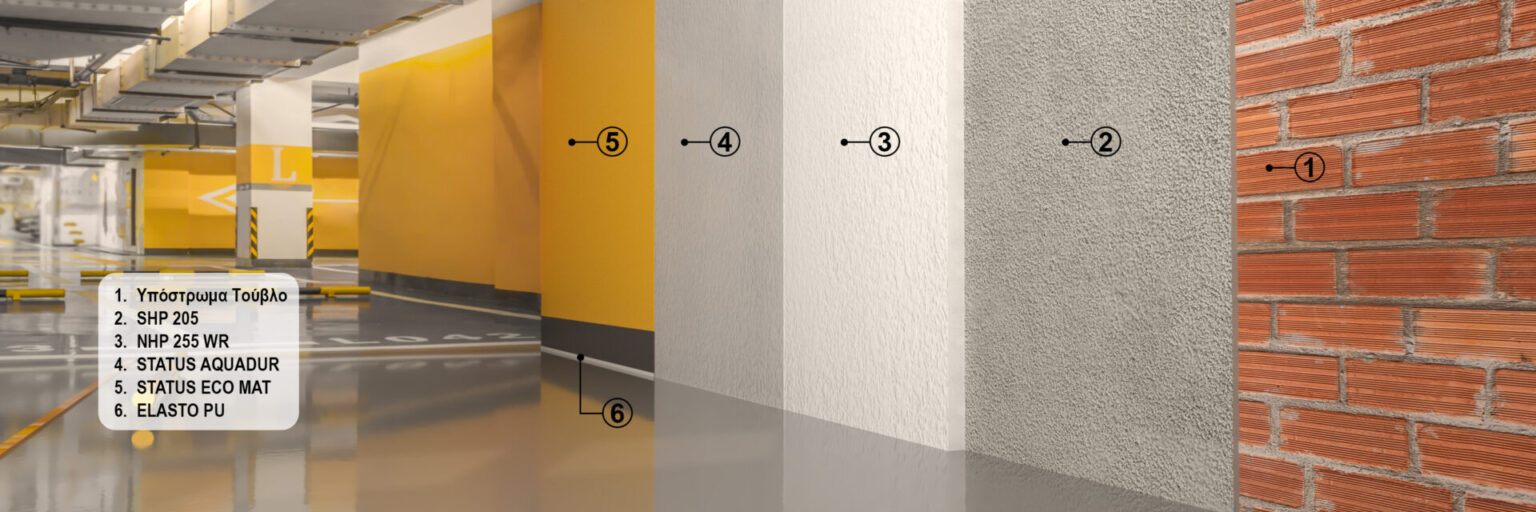
Surface Preparation: Before applying the final render, apply the spatter coat SHP 205. The product is applied mechanically using a spray gun or plastering machine and, where required, manually using a plastering trowel.
Apply evenly to masonry, concrete and ceilings, creating a rough surface that acts as a bonding bridge for the subsequent render layers. Apply at a thickness of 5 mm, ensuring complete coverage of the surfaces and voids. SHP 205 contributes to uniform substrate absorption and proper surface preparation for the final rendering.
STEP 2
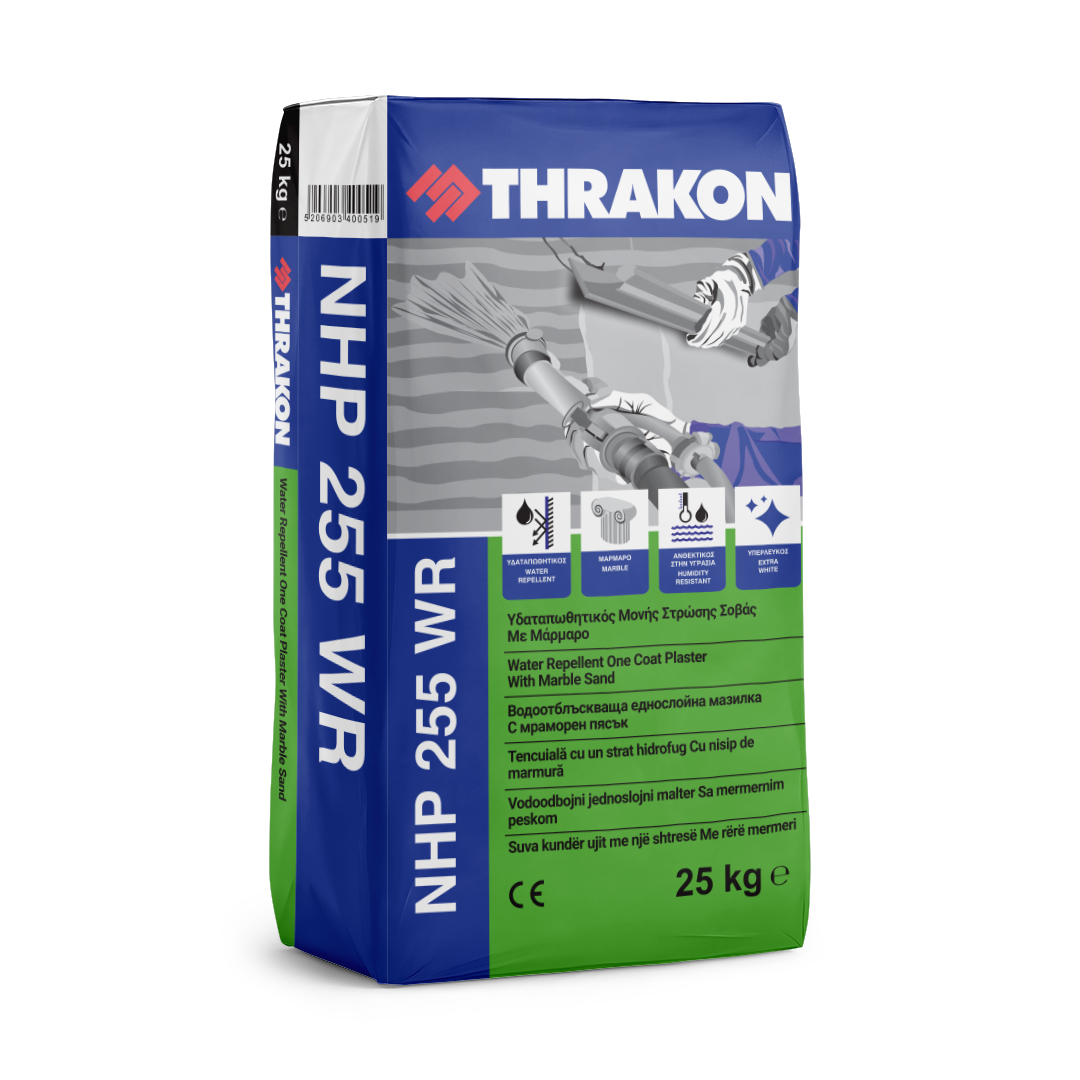
Final Render Coat: Apply the water-repellent render NHP 255 WR. The product is applied mechanically using a continuous mixing machine or plastering machine and, where required, manually.
Apply evenly over the SHP 205 spatter coat on masonry, concrete and other suitably prepared surfaces, providing excellent adhesion, levelling and final finishing in a single coat. Apply at a thickness of 10–20 mm, creating a smooth and uniform surface.
NHP 255 WR is water-repellent, allows the substrate to breathe and contributes to high durability and long-term protection of the render system.
STEP 3
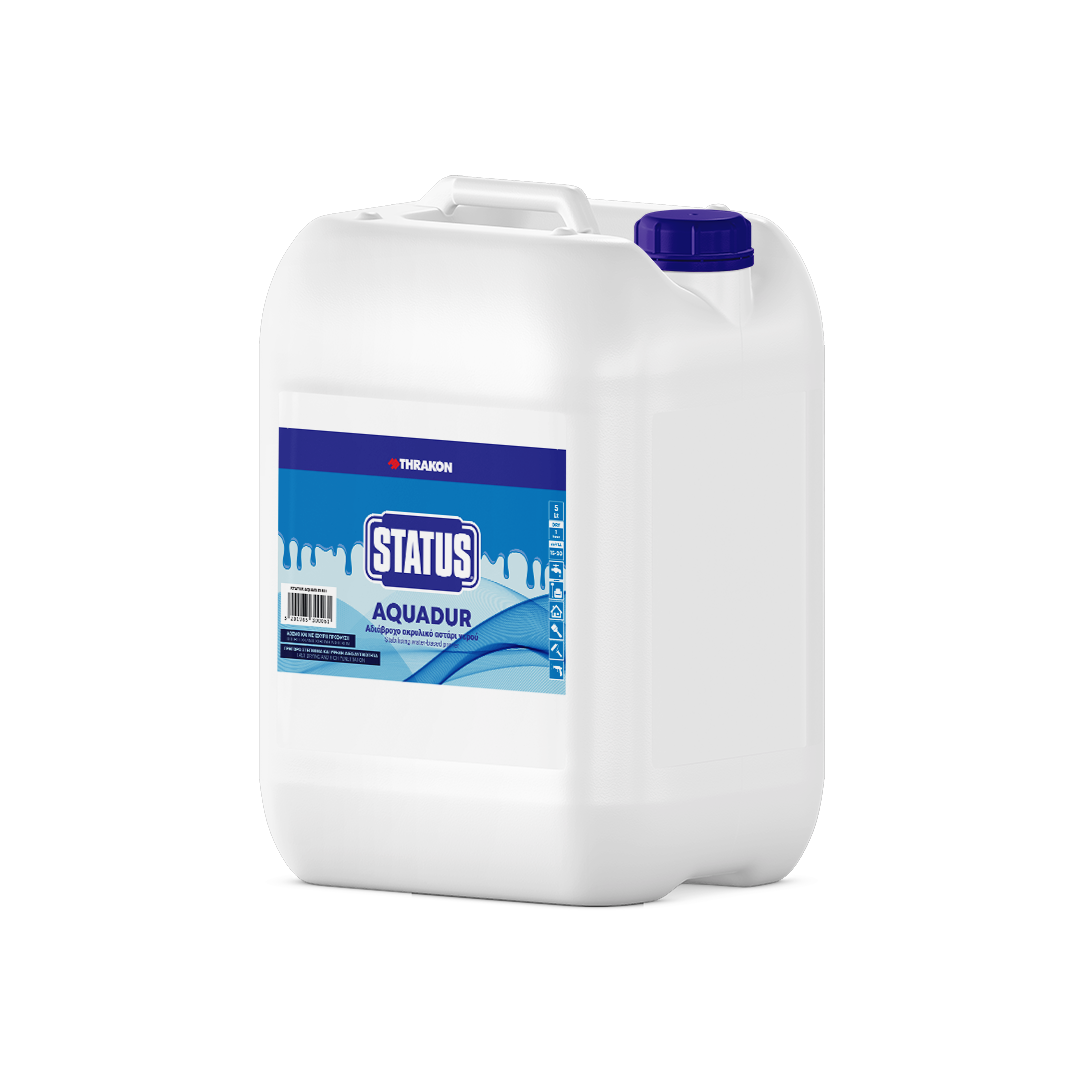
Surface Priming: Apply the micronized acrylic water-based primer STATUS AQUADUR before painting to properly prepare the surfaces.
The product can be applied by brush, roller or airless spray. It penetrates deeply into renders, stabilizing loose areas and reducing substrate absorption. It creates a strong bonding bridge for subsequent paint coats while allowing the surfaces to breathe.
STEP 4
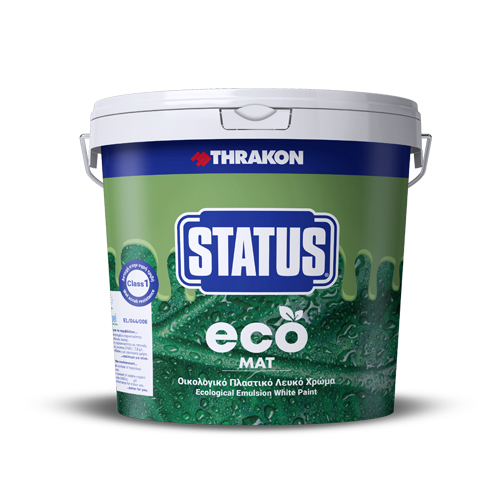
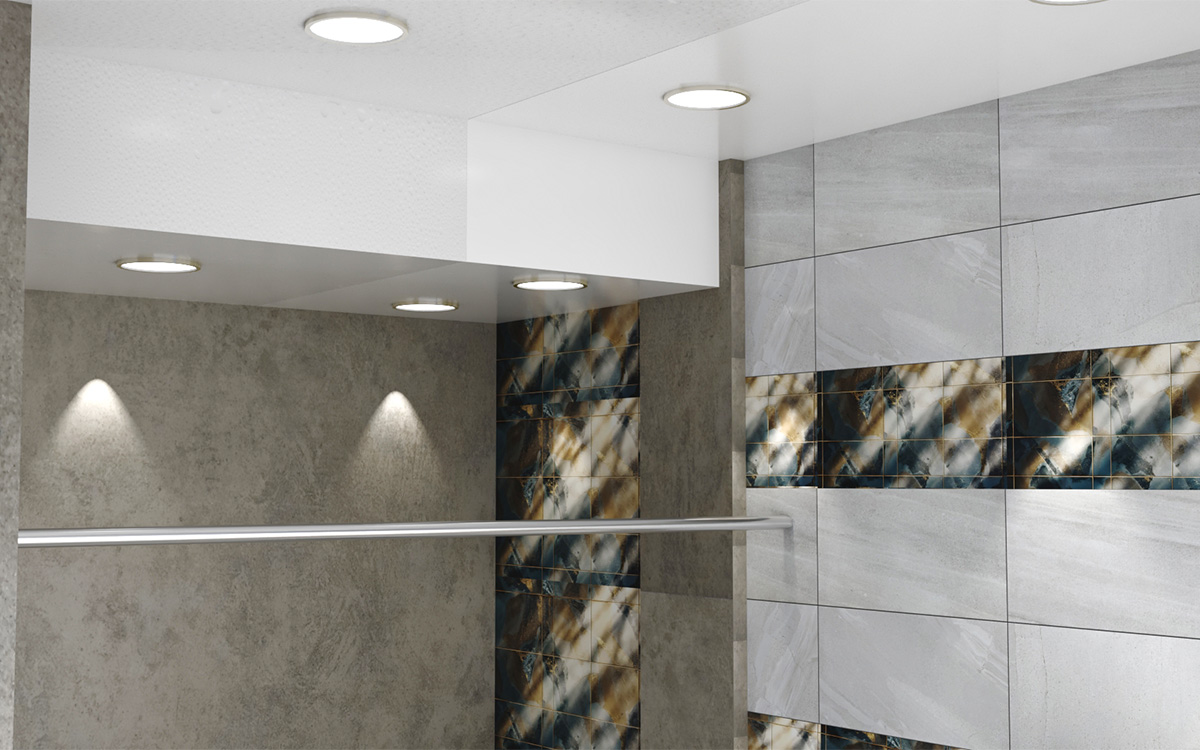
Final Surface: STATUS ECO is applied to interior surfaces such as walls, renders and ceilings after proper cleaning.
Apply by brush, roller or airless spray in 1–2 coats after thorough mixing and suitable dilution with 10–15% water. Apply evenly to the substrate to provide excellent coverage and a smooth matt finish.
The second coat is applied after 2–3 hours. Full washability resistance is achieved after approximately 4 weeks.
STEP 5
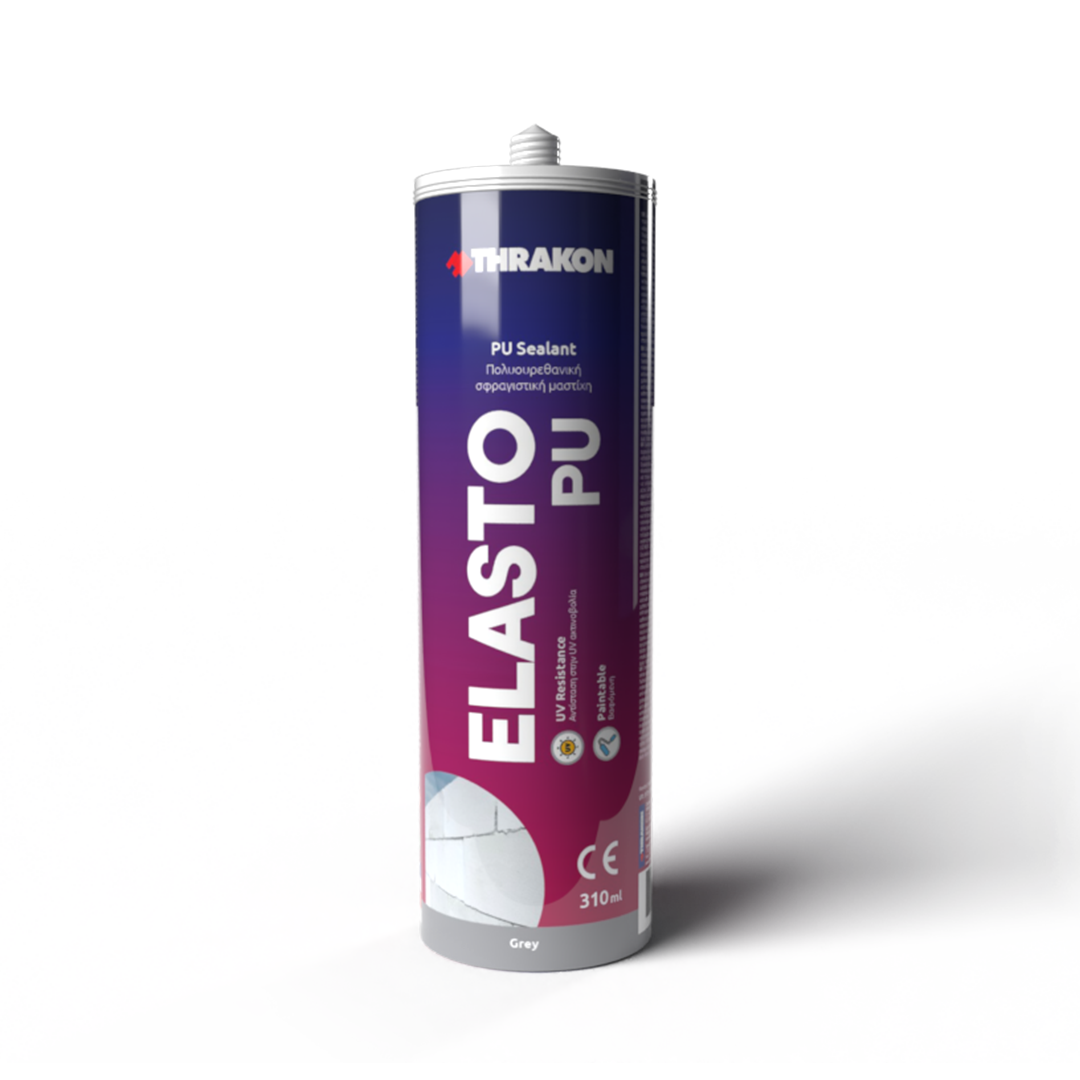
Floor Joint Sealing: Apply ELASTO PU polyurethane sealant to a clean, dry and sound substrate. Apply using a sealant gun, filling the joint uniformly without voids or air entrapment.
Smooth the surface while the material is still fresh. Where required, use a backer rod and masking tape, removing the tape immediately after application.
Products Used