Applications
Microcement Pool
Applications
Microcement Pool
 +30 2103633512
 Product Categories
STEP 1
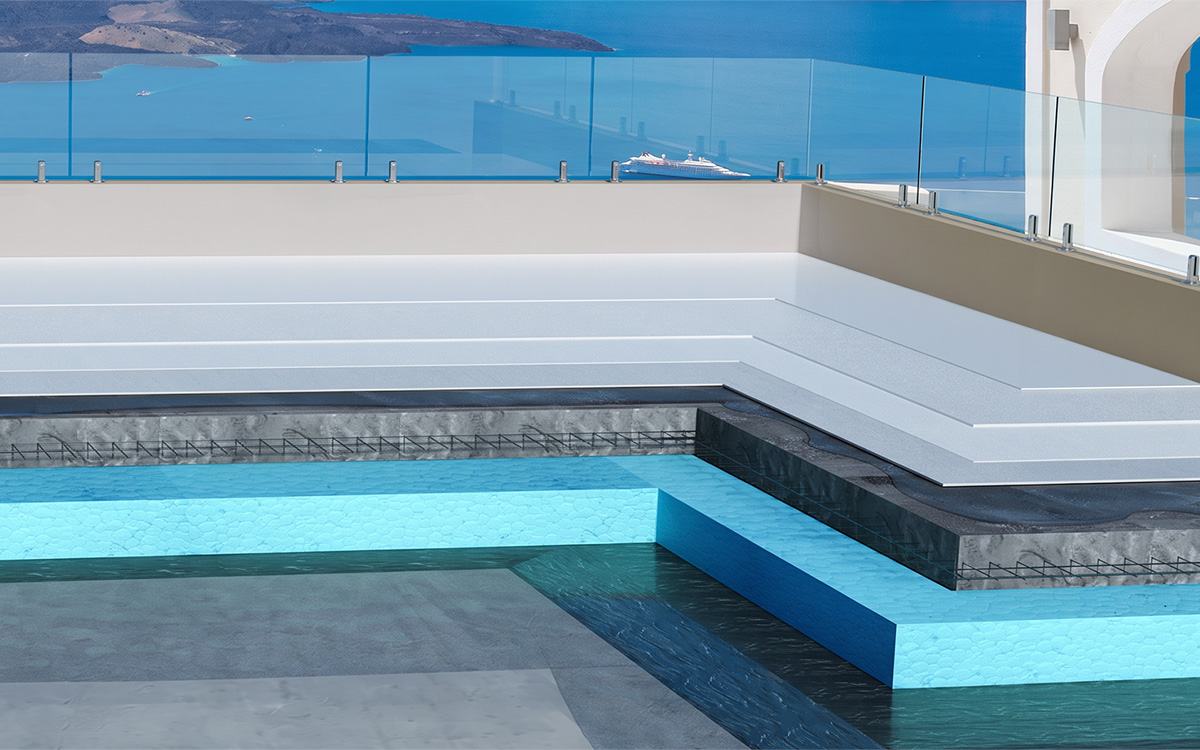
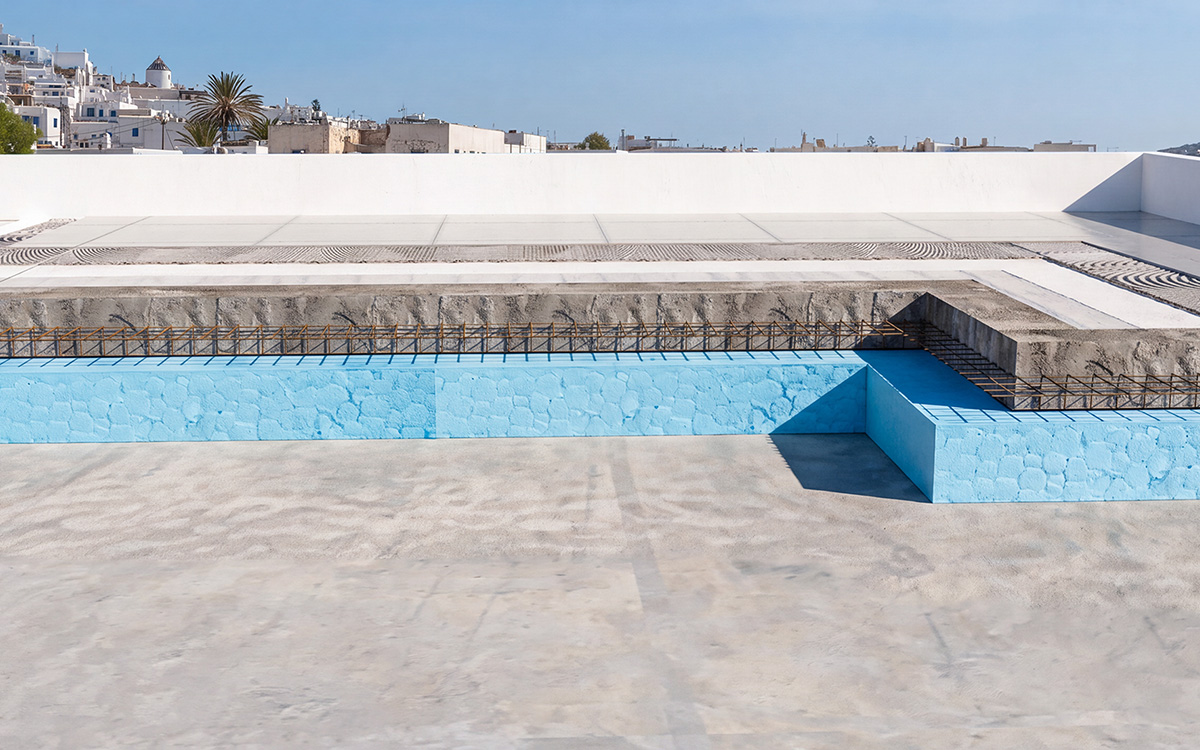
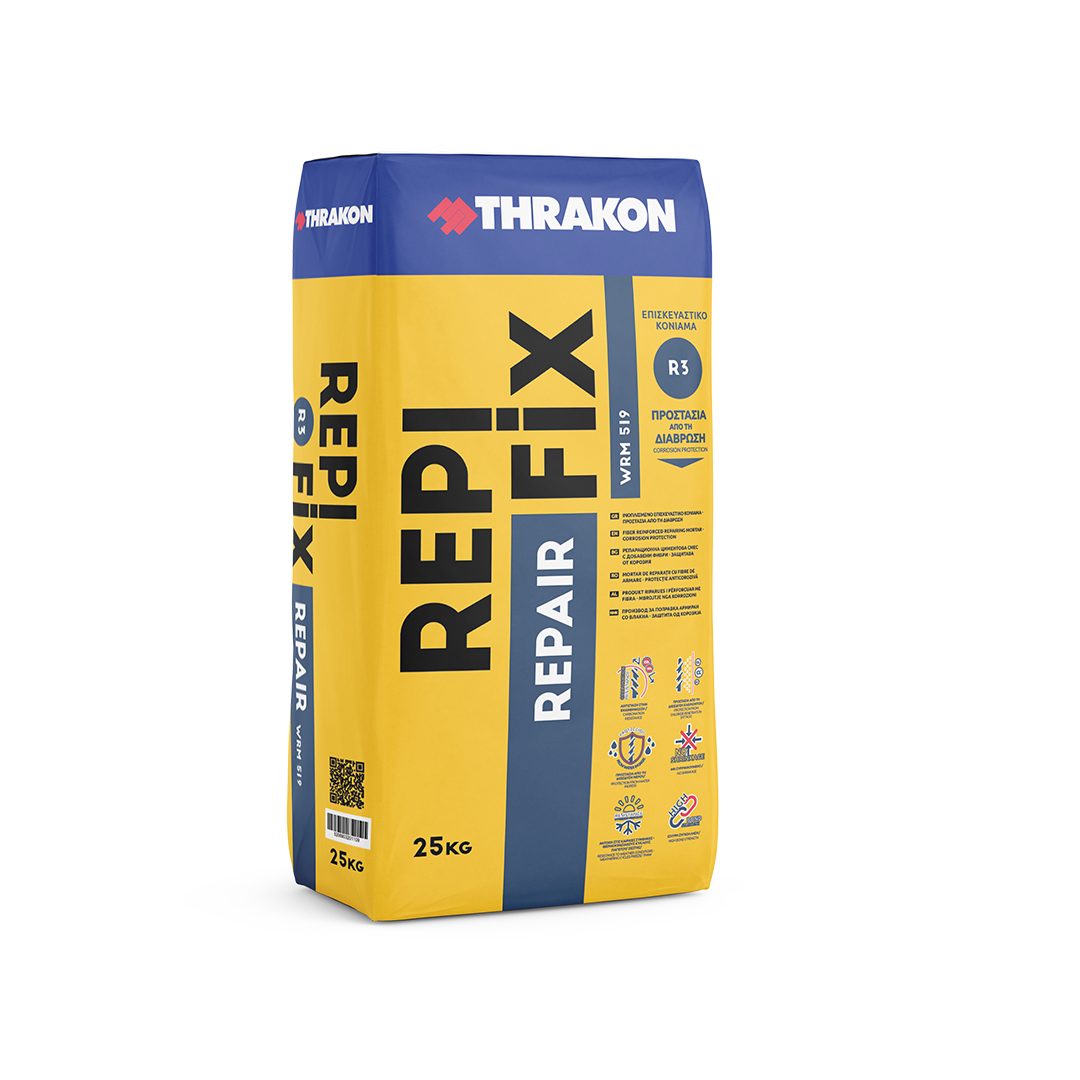
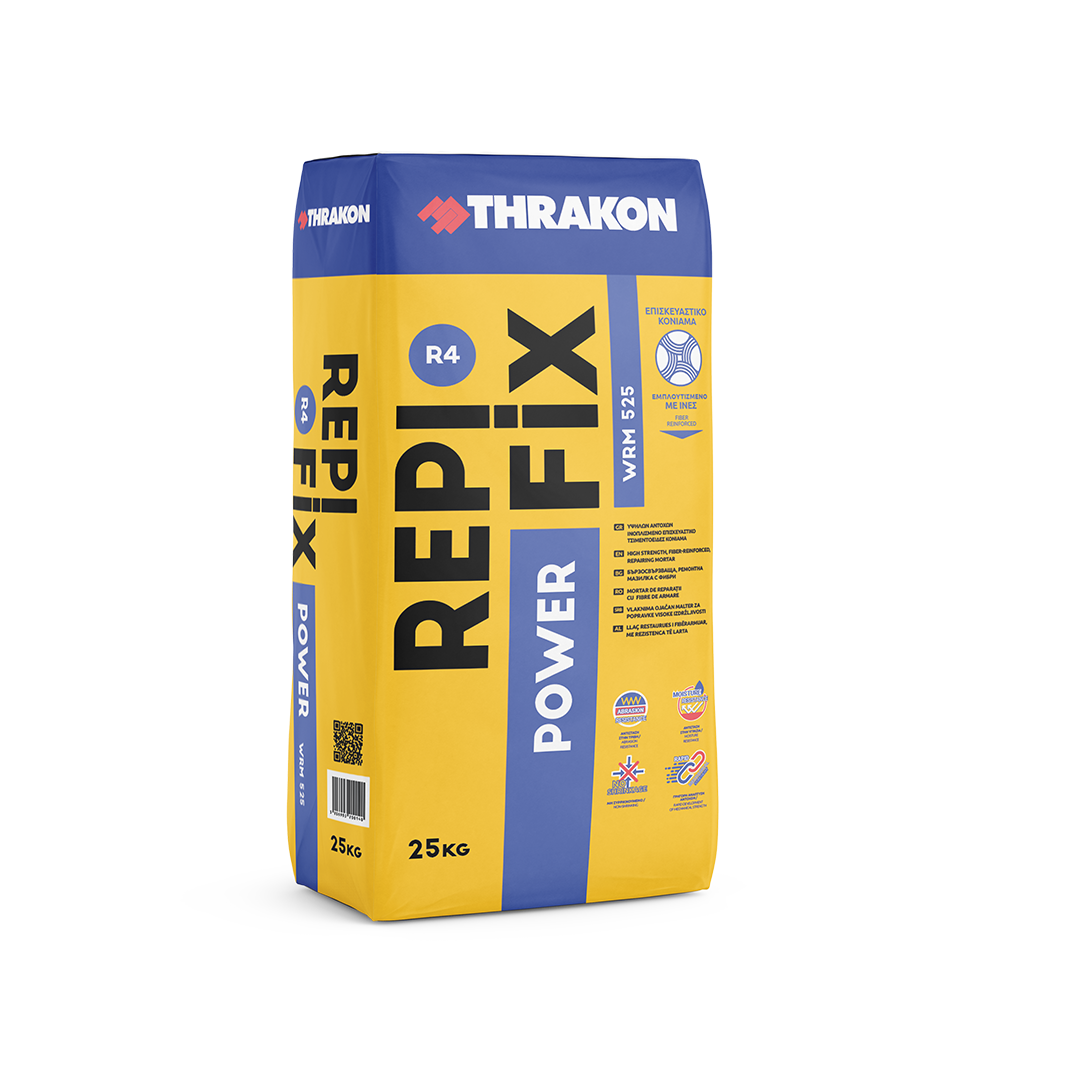
Surface Cleaning: The surface must be thoroughly cleaned of oils, loose or friable materials, dust and other contaminants. Where protrusions are present, such as exposed reinforcement ties, they must be cut to a depth of 3 cm. The surface is thoroughly saturated with water and the affected areas are subsequently repaired using REPIFIX REPAIR WRM 519 or REPIFIX POWER WRM 525.
STEP 2
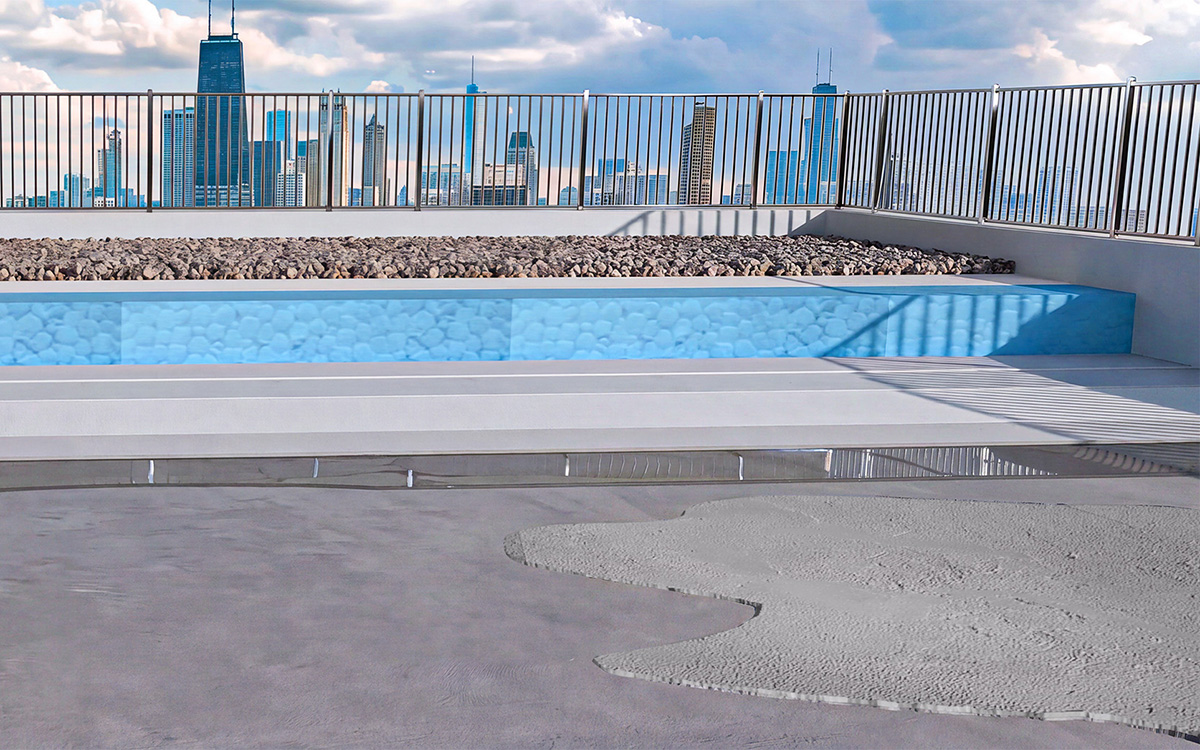
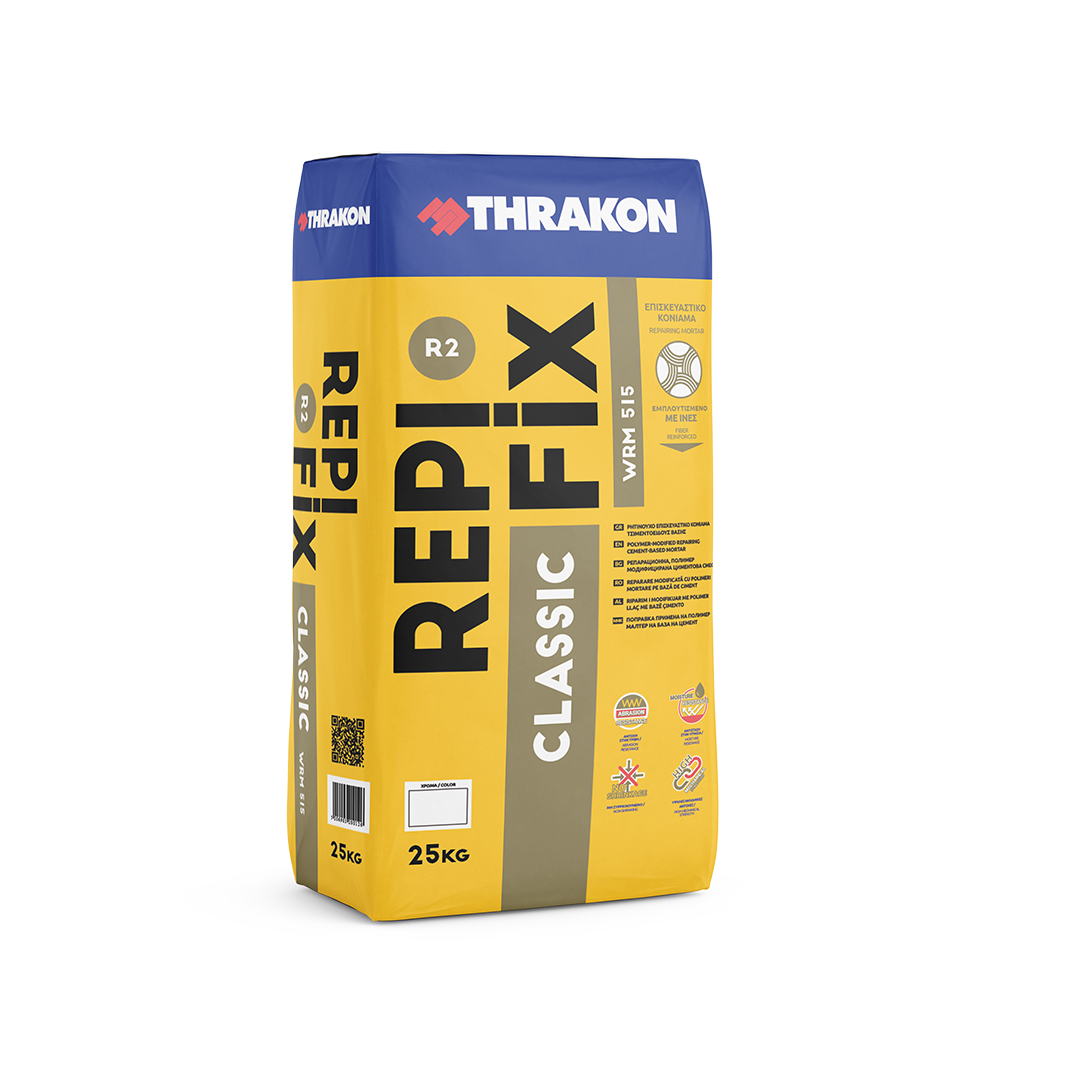
Surface Levelling: To level irregularities and areas with aggregate segregation in concrete, REPIFIX CLASSIC WRM 515 is applied. The repair mortar is carefully spread, ensuring complete filling and coverage of all voids. Particular attention should be paid to removing entrapped air and avoiding voids. The mortar can be applied at a thickness of up to 2 cm per layer. To ensure uniform strength development and prevent cracking, the finished surface must be kept moist during the first days after application.
STEP 3
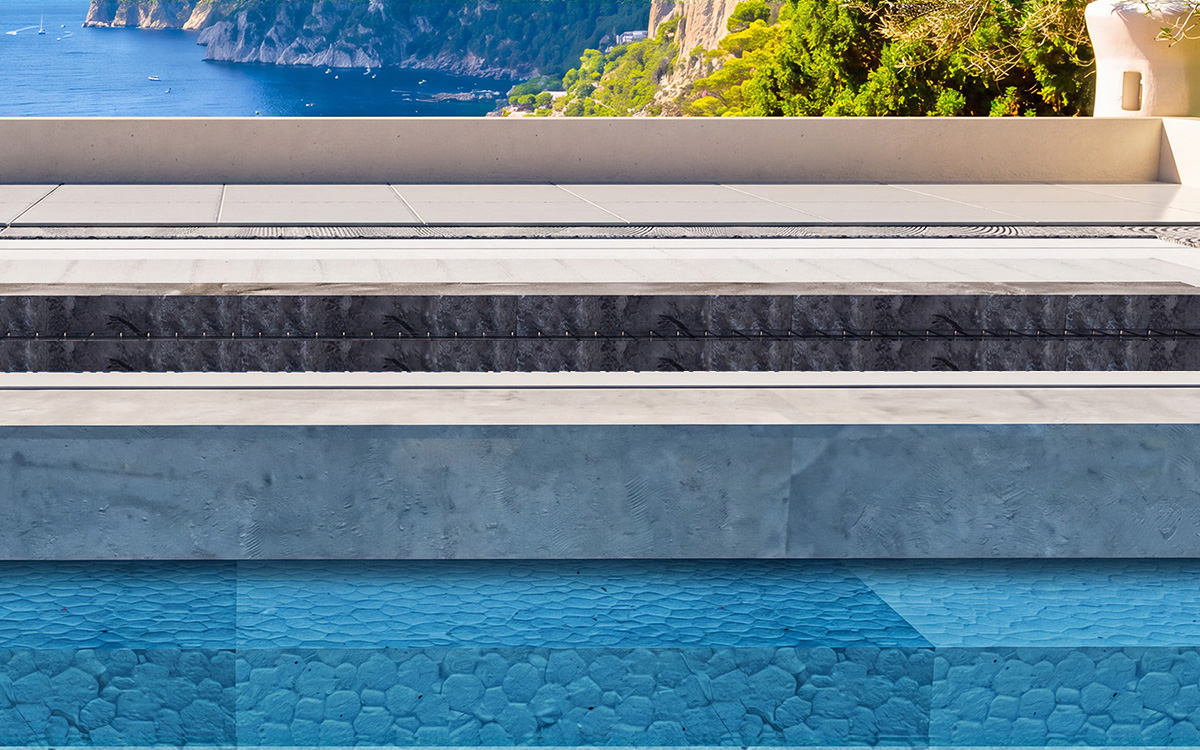
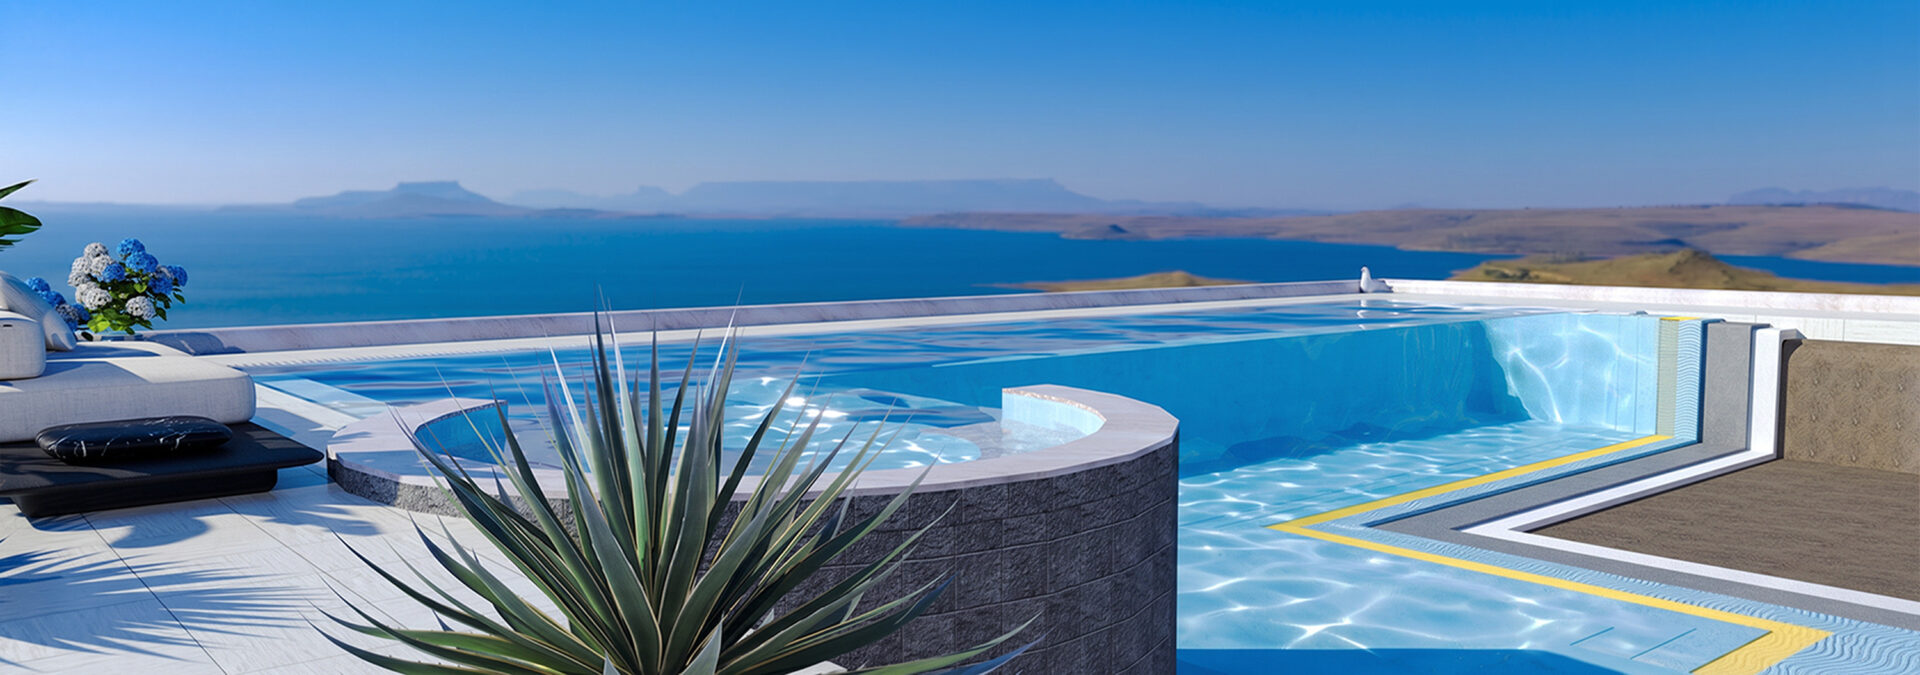
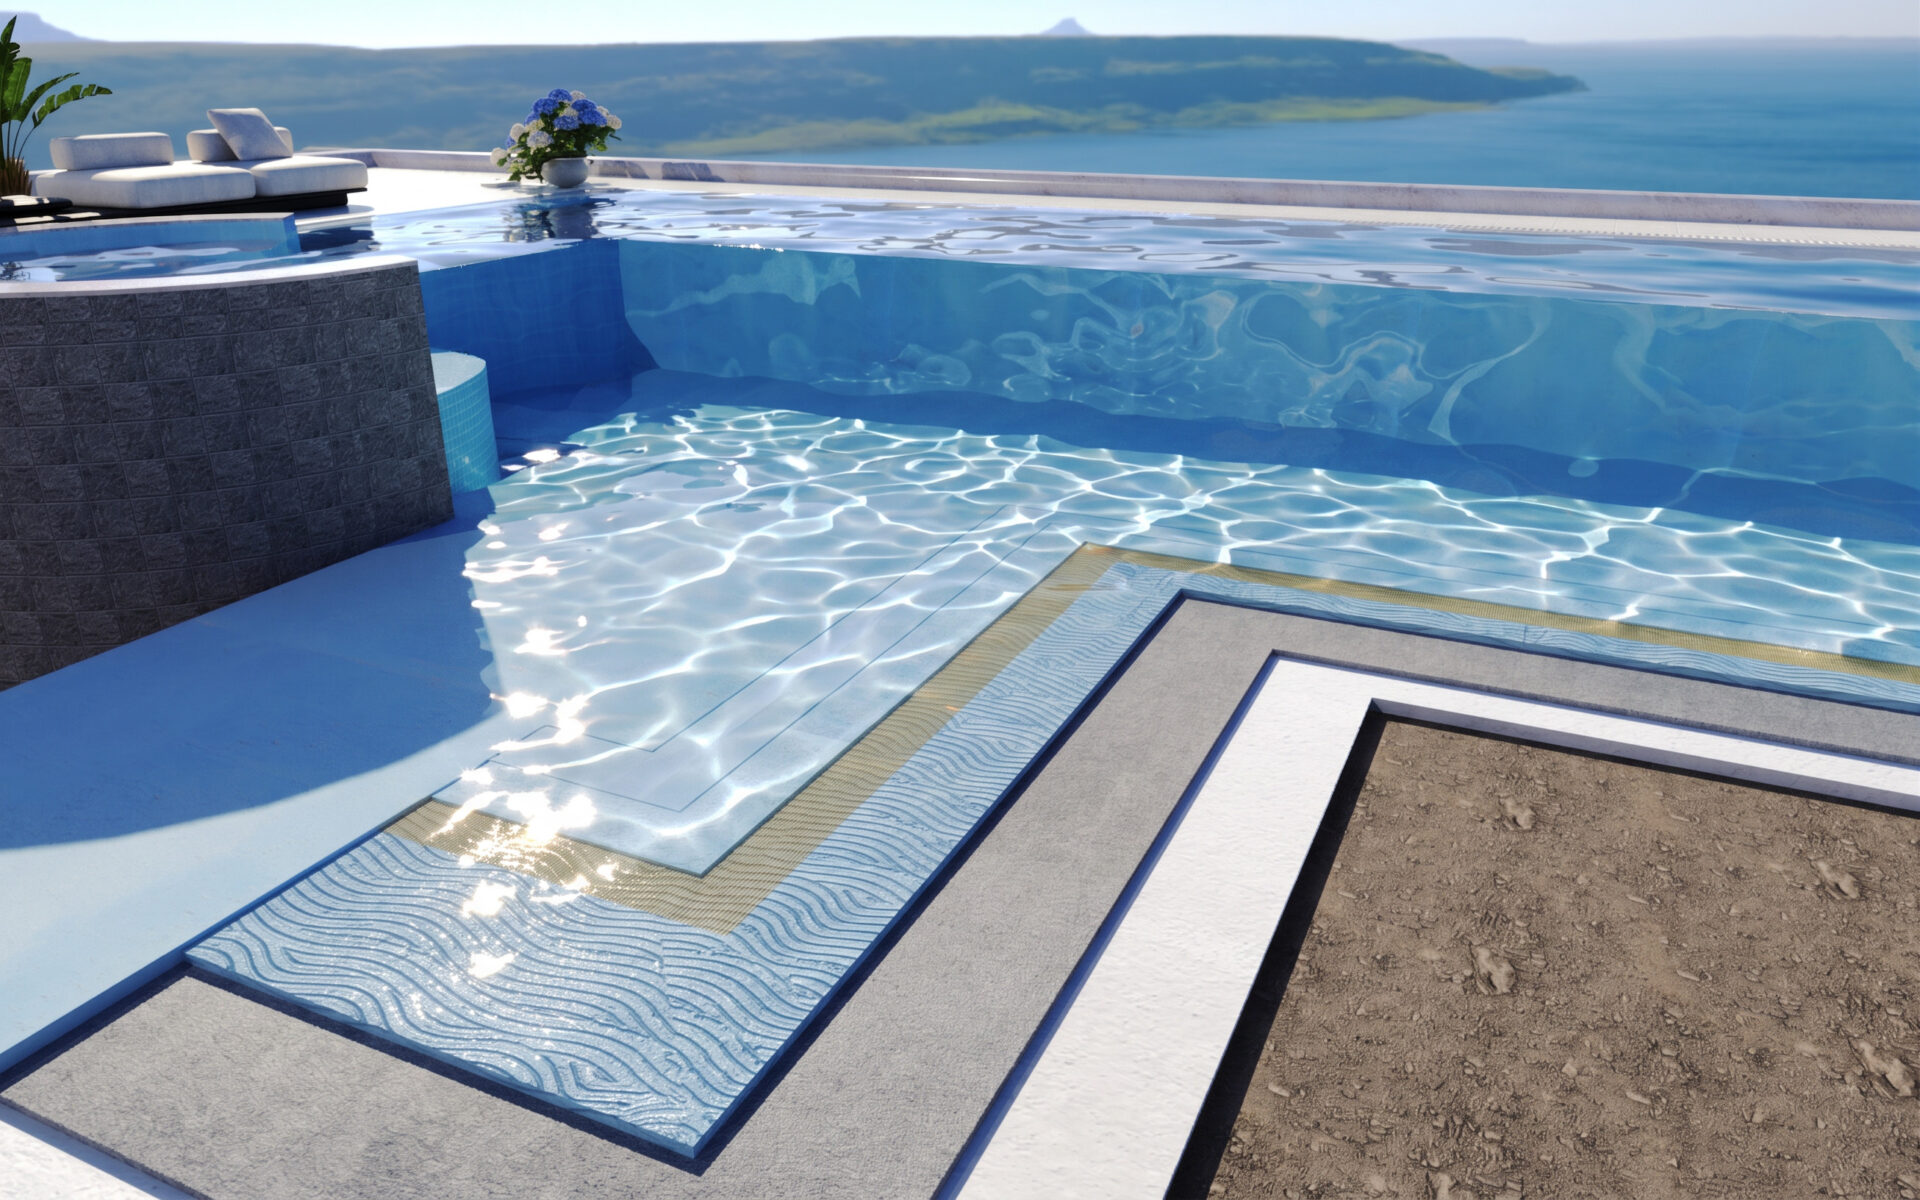
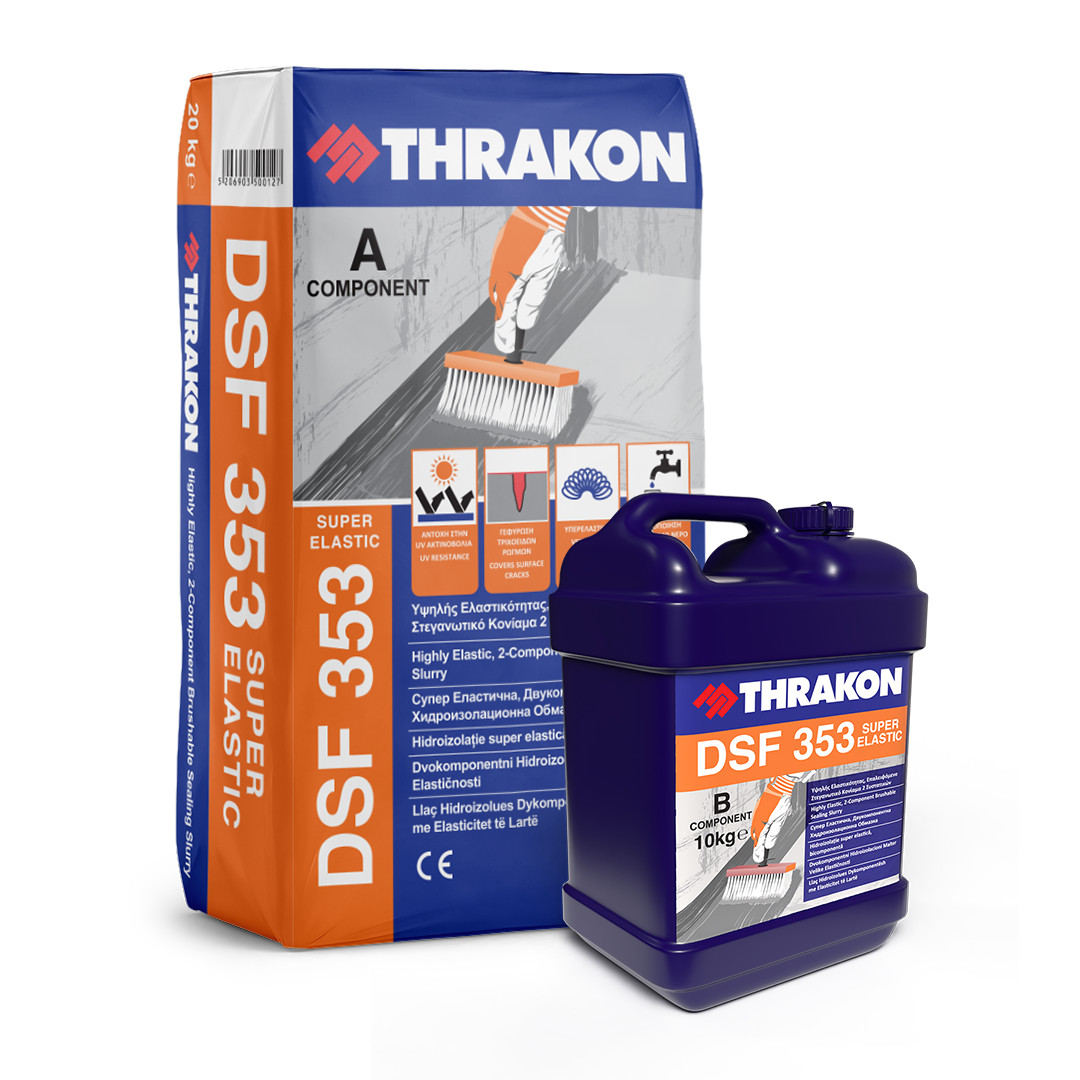
Surface Preparation and Waterproofing: SUPER ELASTIC DSF 353 two-component flexible waterproofing mortar is applied onto the properly prepared substrate, ensuring good adhesion across the entire surface. Due to hydrostatic pressure, at least 3–4 cross coats are applied, with a total thickness of at least 3 mm. Each coat is applied after the previous one has dried, approximately 4–6 hours later, without exceeding 24 hours between coats. At joints and connections between horizontal and vertical surfaces, reinforcement with suitable waterproofing tapes or mesh is recommended to ensure watertightness and reduce the risk of cracking.
STEP 4
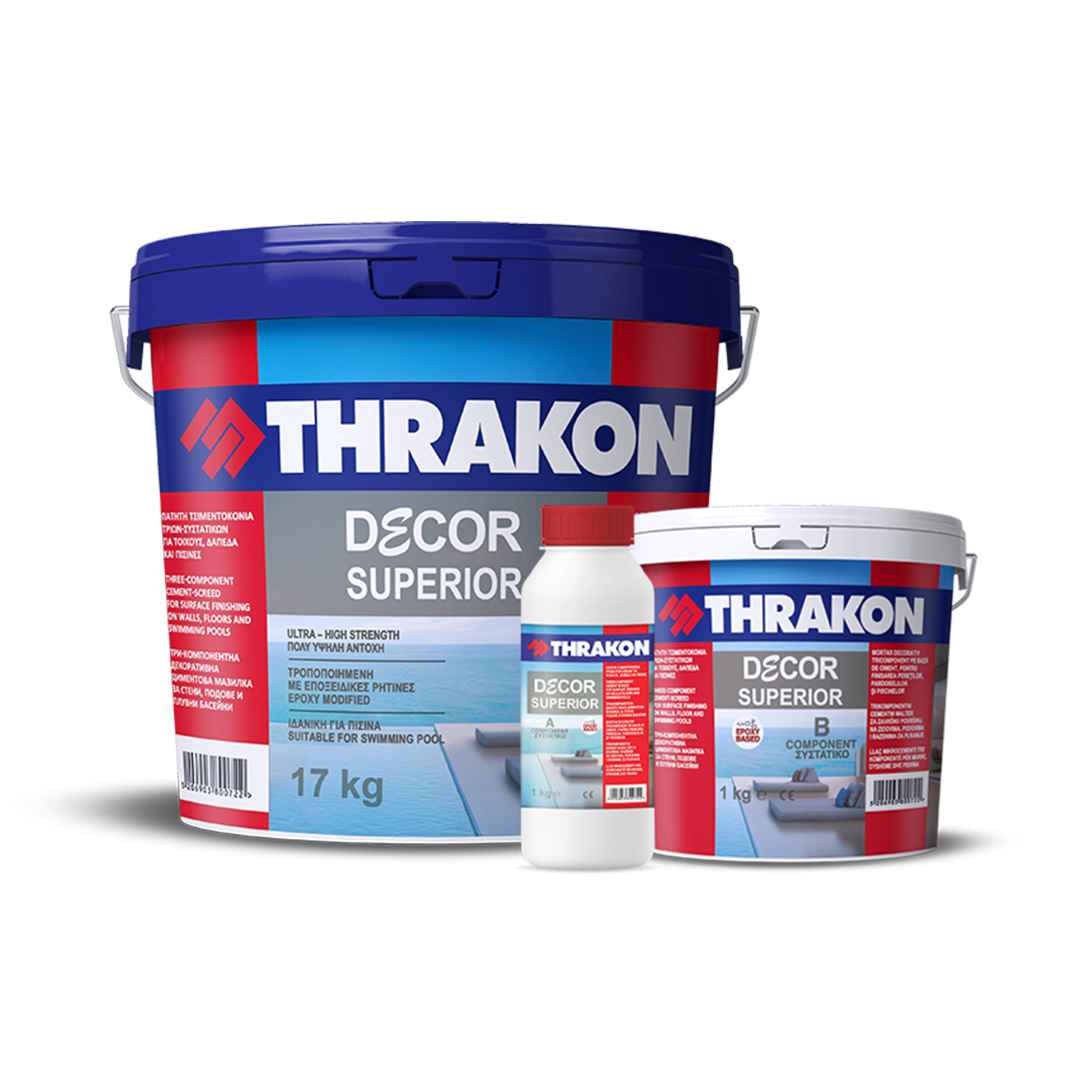
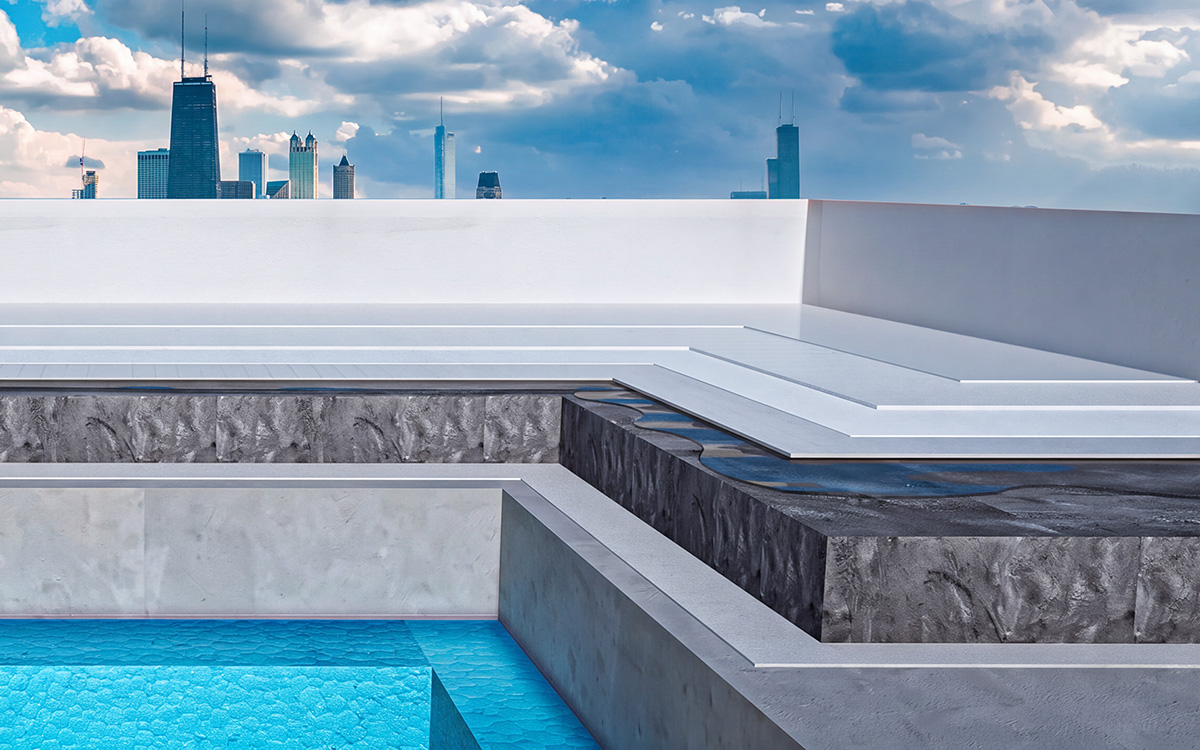
Application of DECOR SUPERIOR Polished Cement Mortar: After 24 hours, DECOR SUPERIOR polished cement mortar is applied to horizontal and vertical surfaces, ensuring high adhesion and a uniform finish. The mixture is prepared by combining Components A and B with the pigment, followed by the addition of the mortar and the required amount of water until a homogeneous, lump-free mixture is obtained.
Application is carried out using a notched trowel at a thickness of 1–3 mm, followed by a second or additional coats with a smooth trowel until the desired finish is achieved. In areas subject to increased loads or where greater thickness is required, reinforcement with glass-fibre mesh in the first coat is recommended. After hardening, the surface can be sanded to achieve the desired final texture.
STEP 5
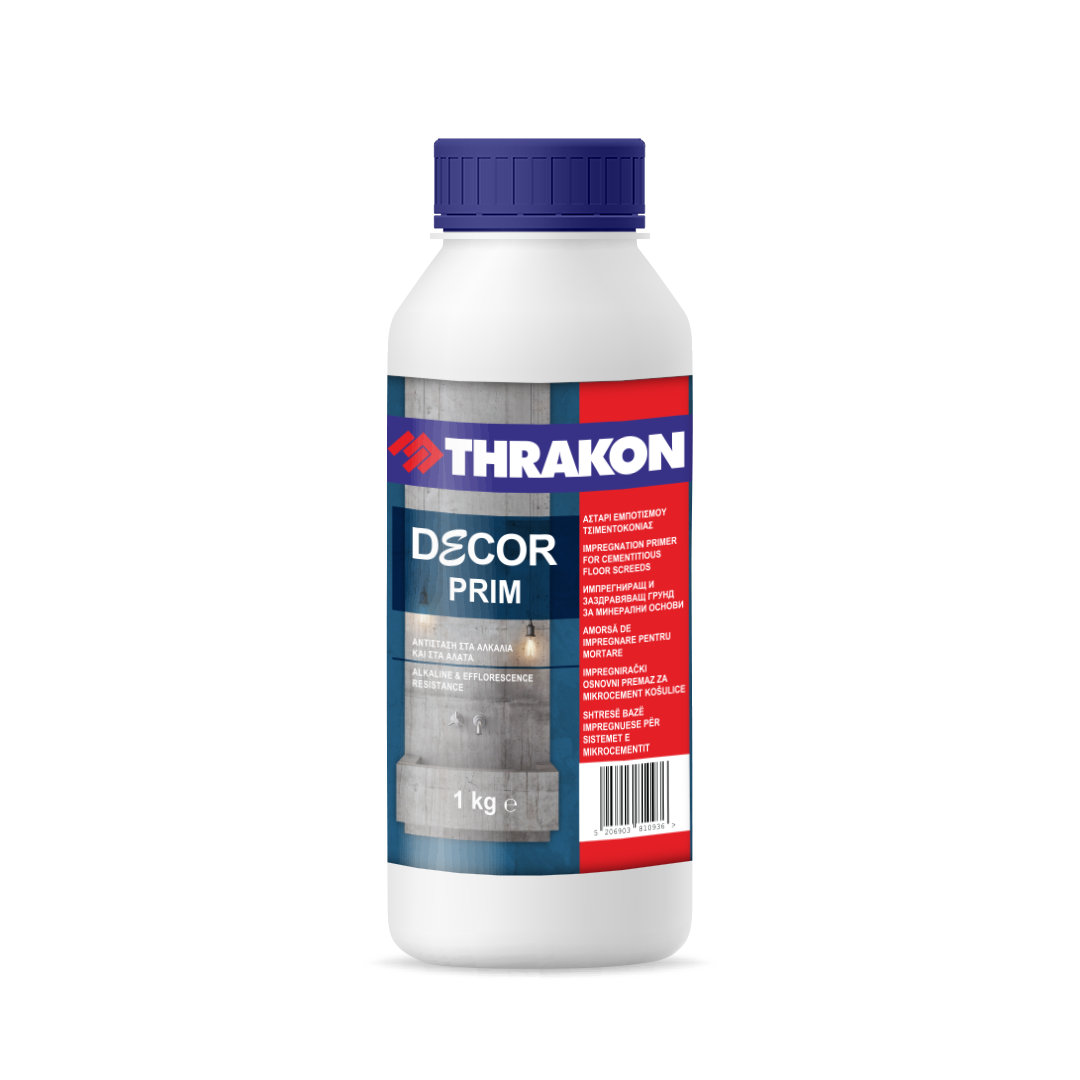
Priming of the Polished Cement Mortar: After approximately 48 hours, DÉCOR PRIM is applied using a paintbrush or roller, ensuring uniform absorption without forming a surface film. Application can also be carried out by spraying on absorbent or rough substrates. Where a second coat is required, it is applied after at least 4 hours. On new surfaces, application is carried out after 30–40 days.
STEP 6
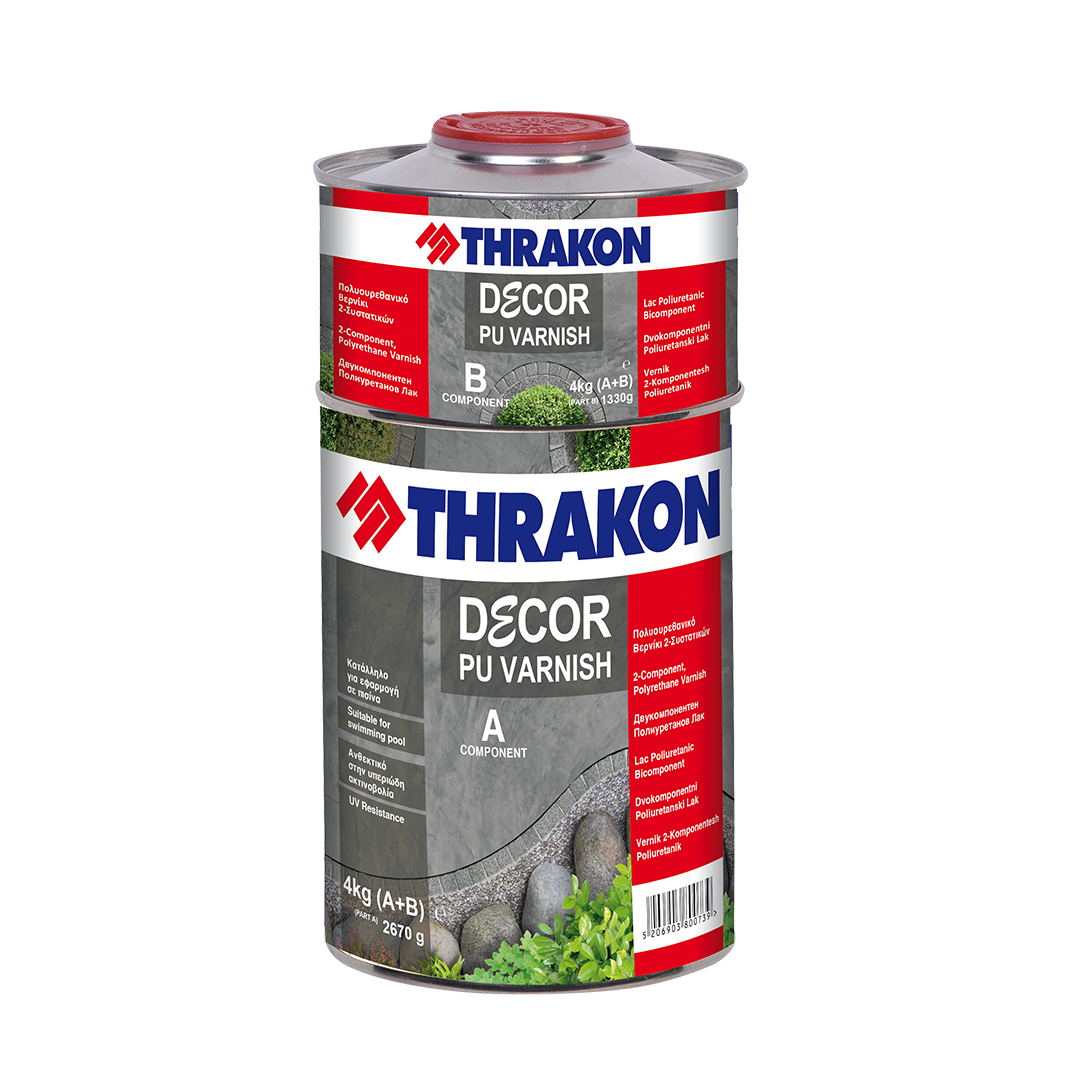
Protective Varnish: Once the primer has dried, DECOR PU VARNISH, a two-component polyurethane protective varnish, is applied to provide waterproofing and high-level protection of the substrate. Component B is added to Component A and mixed until fully homogeneous before application. The material is applied by roller in a uniform coat without excess material.
Two coats are recommended, with the second coat applied approximately 24 hours after the first. Under demanding conditions, such as surfaces exposed to standing water or hydrostatic pressure, at least three coats should be applied.
STEP 7
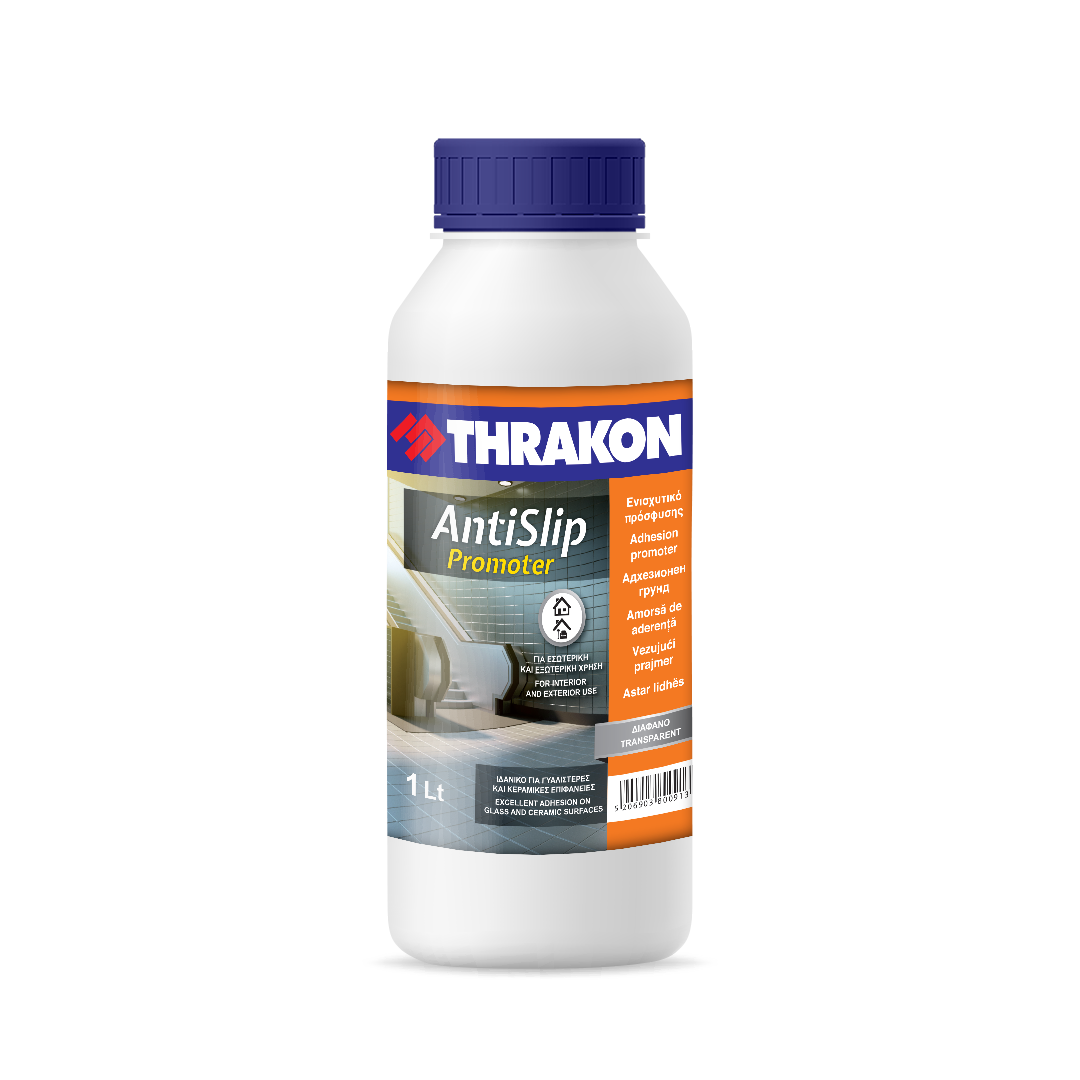
Surrounding Floor Area / Surface Priming: On a clean, dry and sound surface, ANTISLIP PROMOTER adhesion promoter is applied to activate the surface prior to application of the anti-slip system. Application is carried out using a cloth saturated with the product, spreading it evenly over the entire surface to enhance adhesion and remove surface contaminants.
A repeat application can be carried out after 2–3 hours, while the subsequent product should be applied within 24 hours for optimum performance. Particular attention must be paid to ensuring that the substrate is free from moisture and contaminants and that suitable application conditions are maintained.
STEP 8
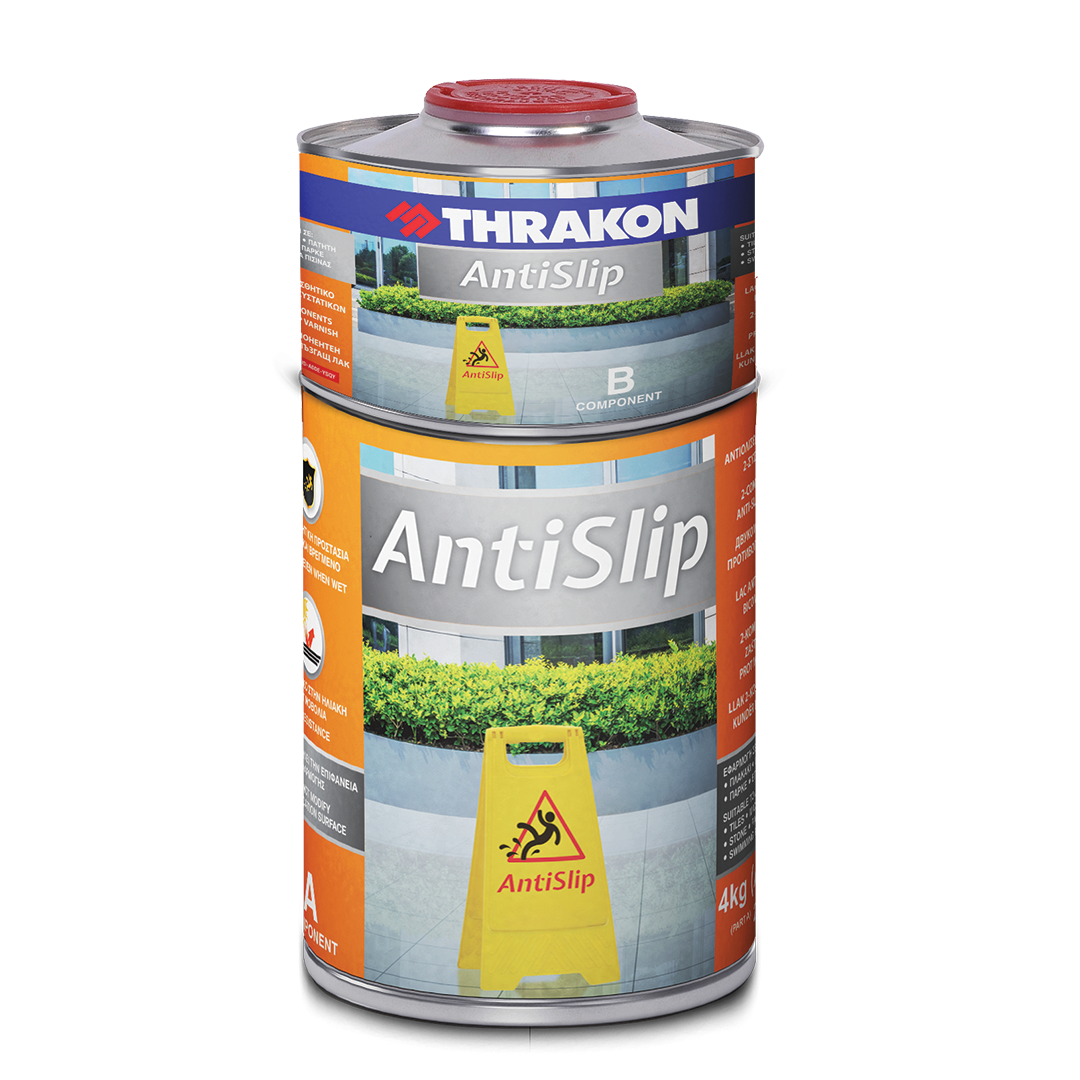
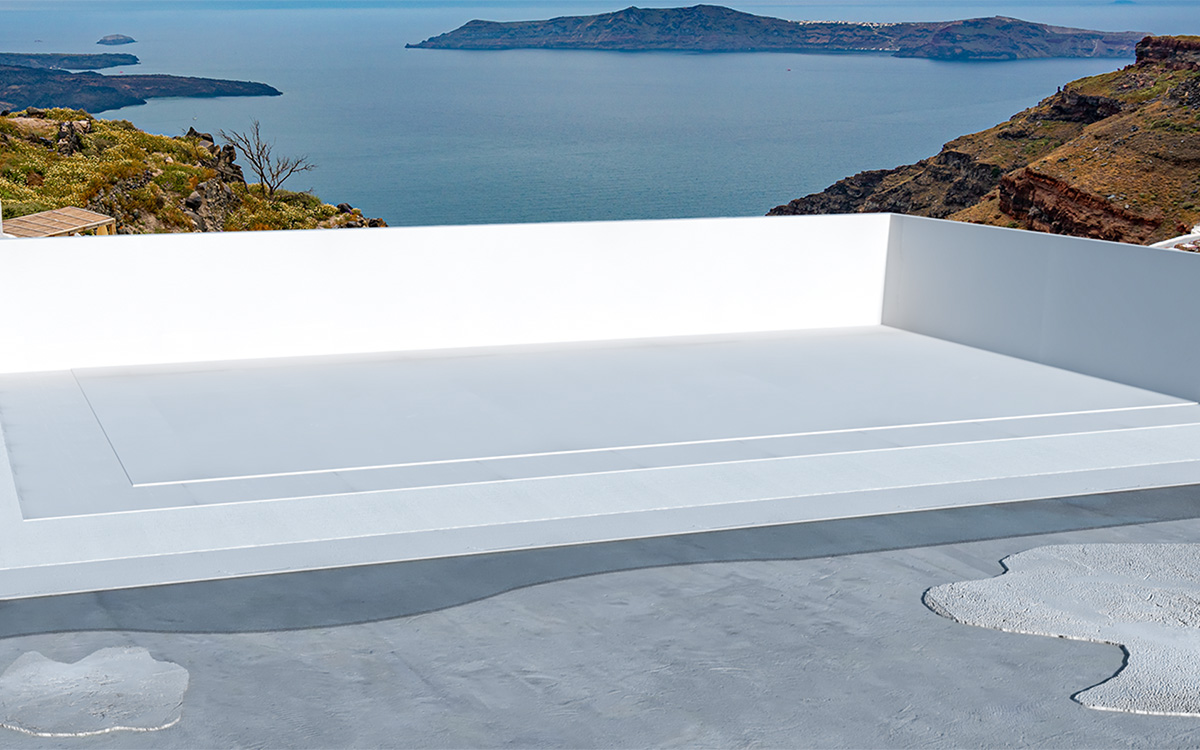
Surrounding Floor Area: Following surface activation with ANTISLIP PROMOTER, the two-component polyurethane anti-slip coating ANTISLIP is applied, providing high adhesion and protection of the substrate. Application is carried out by roller in 1–2 coats, creating an anti-slip surface even under humid conditions. The second coat is applied within 24 hours of the previous coat, depending on environmental conditions, while the material becomes surface dry in approximately 5–6 hours.
Products Used
MICROCEMENT DECOR
DECOR PU VARNISH
Polyurethane varnish- 2 components, for protecting polished cement screeds