Applications
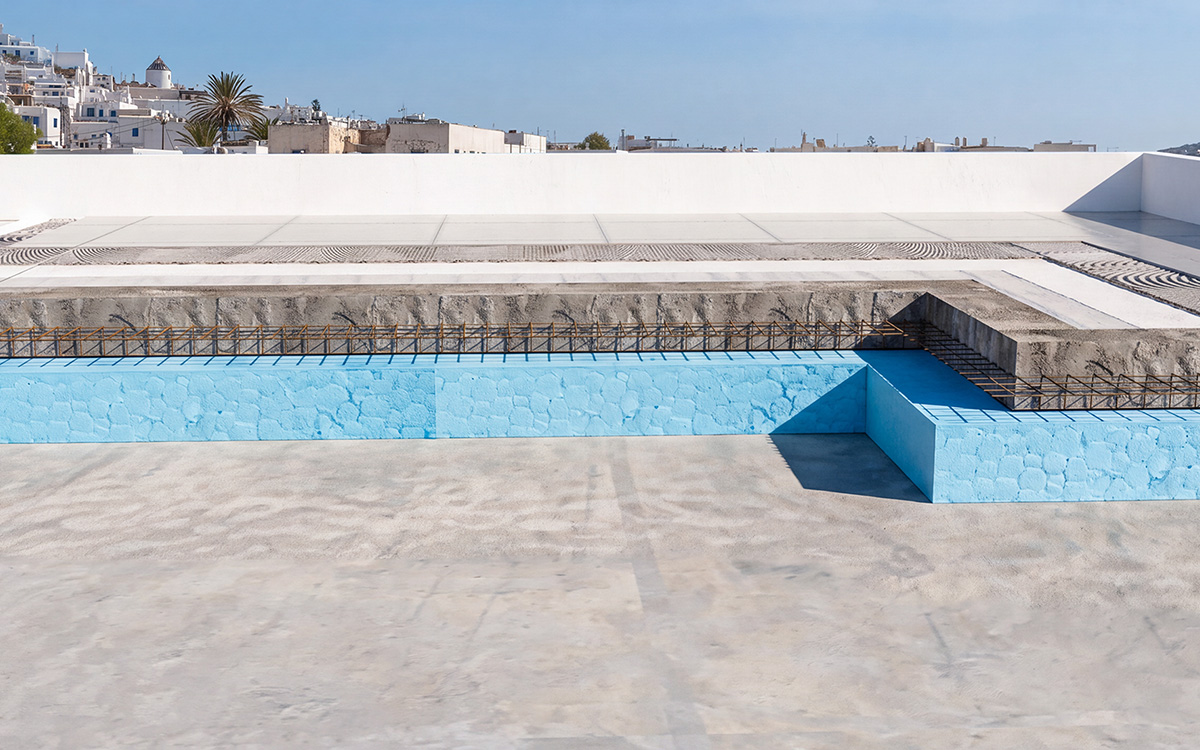
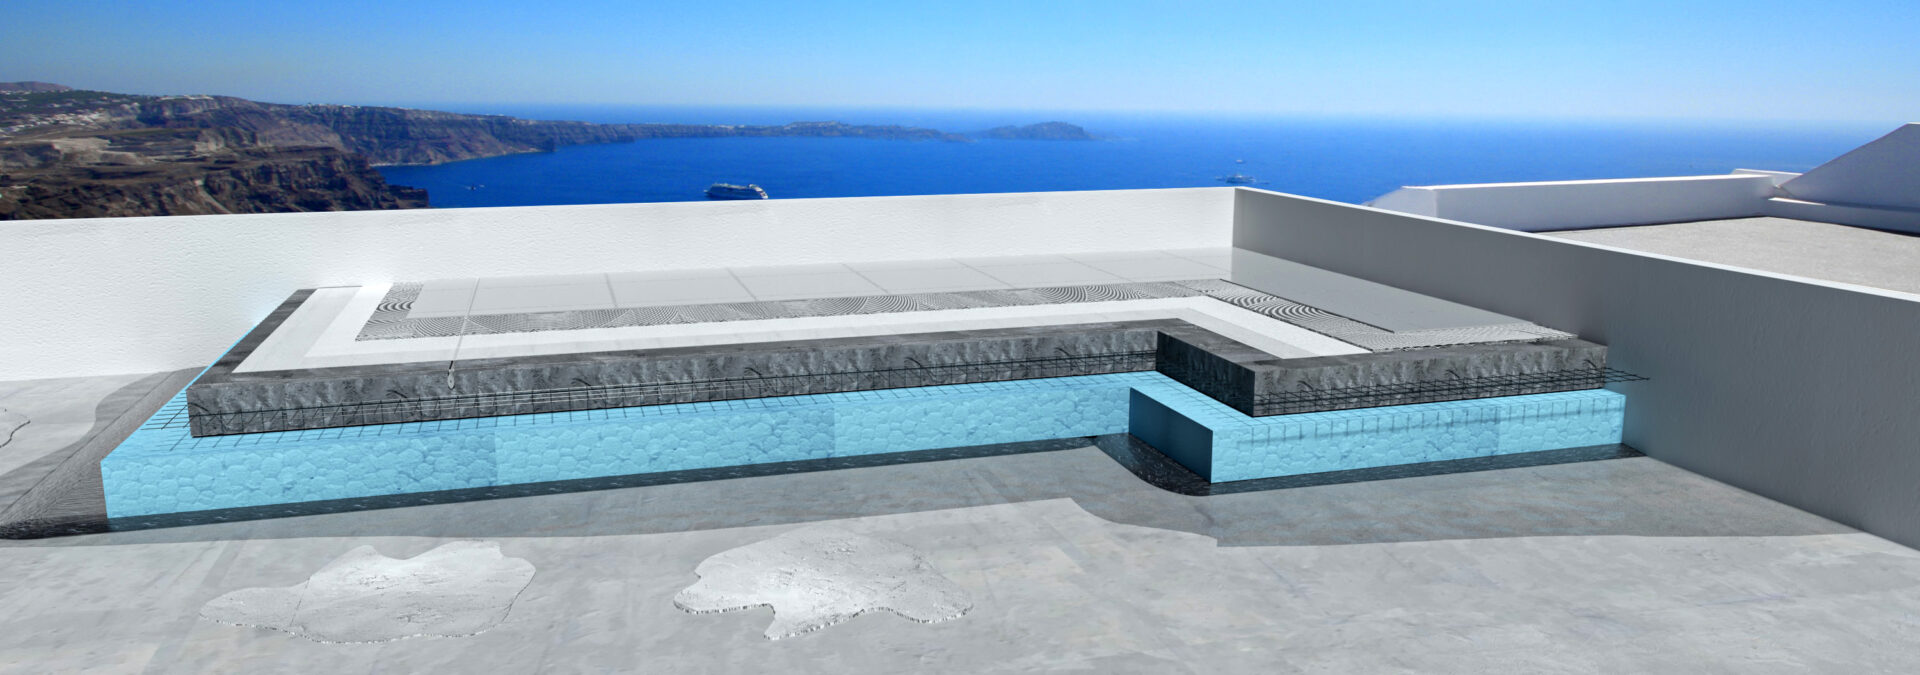
EXISTING ROOF/ Thermal insulation without slopes
Applications
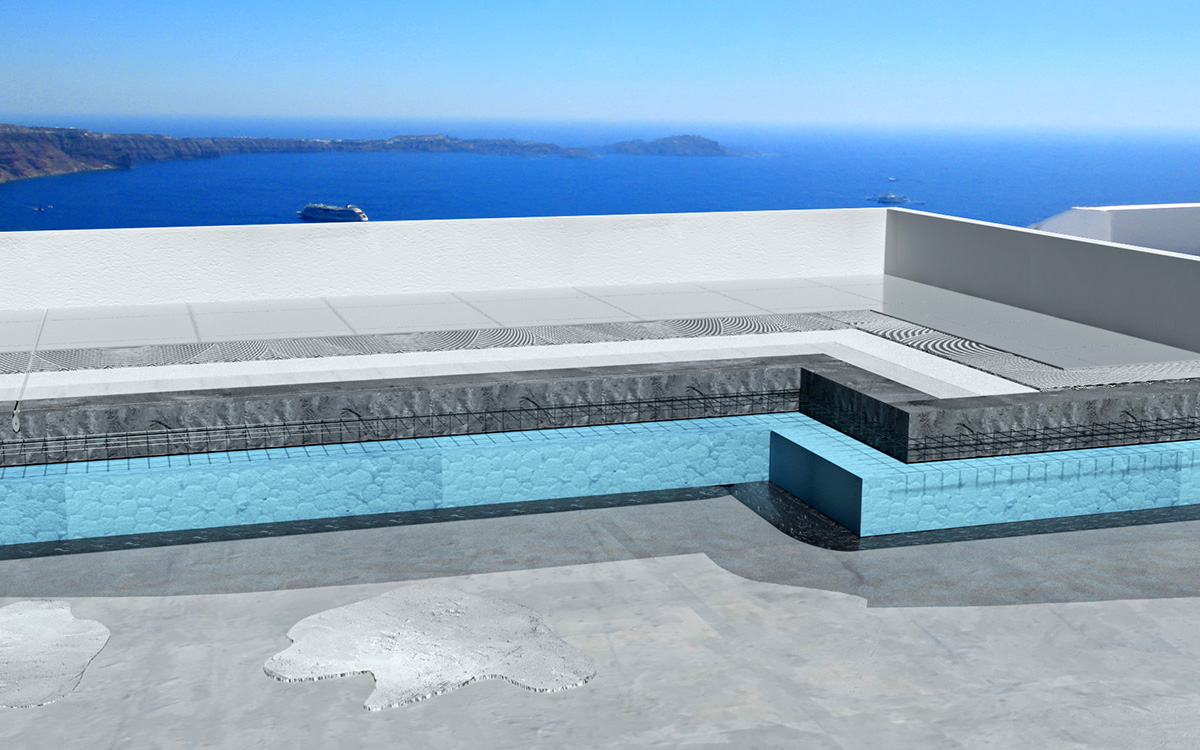
EXISTING ROOF/ Thermal insulation without slopes
 +30 2103633512
 Product Categories
What do we need?
Brush, roller, paintbrush, airless spray, trowel
STEP 1
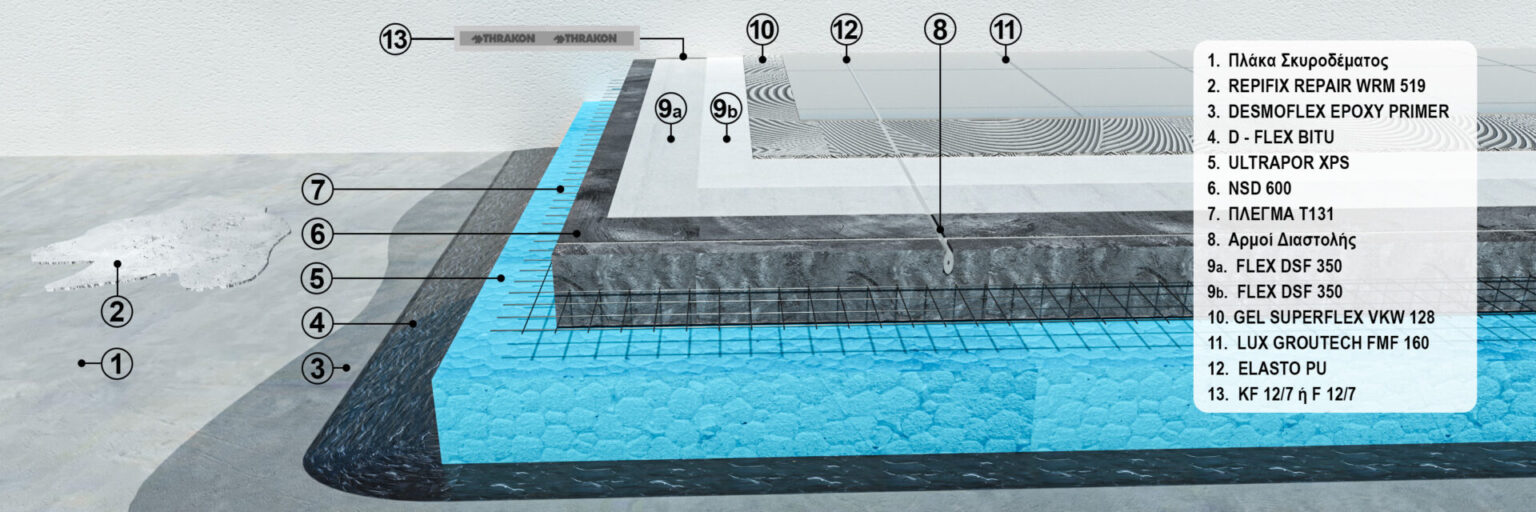
Surface Cleaning: Clean the surface thoroughly to remove oils, loose materials, dust, etc. Where protrusions are present (e.g. tie wires), they should be cut to a depth of approximately 3 cm.
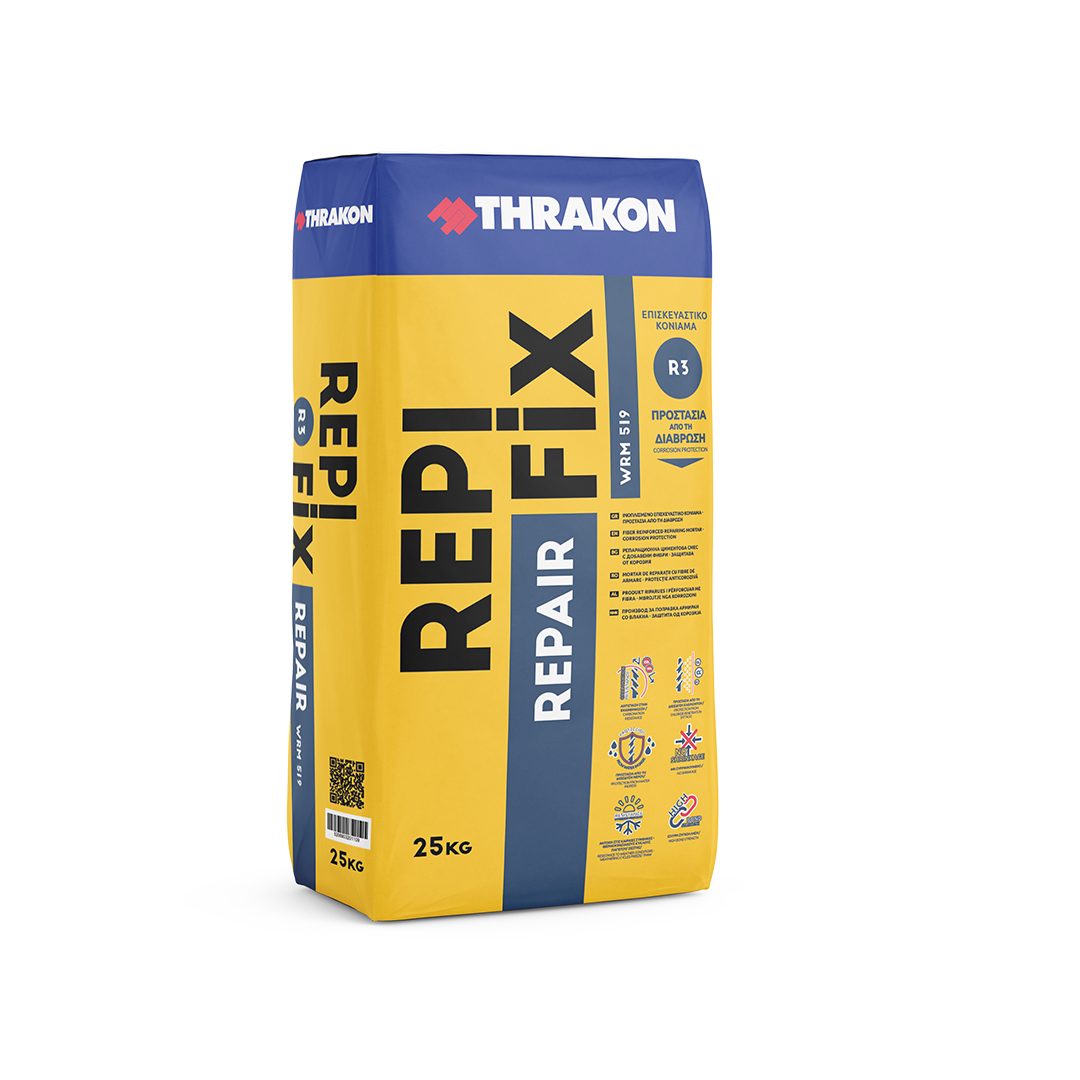
Thoroughly wet the surface until saturated and then repair the relevant areas using REPIFIX REPAIR WRM 519.
STEP 2
Epoxy Primer: Apply the two-component, water-based epoxy primer DESMOFLEX EPOXY PRIMER using a roller, brush or paintbrush, after mixing the two components according to the manufacturer's instructions.
The product penetrates deeply and provides excellent adhesion to both absorbent and non-absorbent substrates. It can also be applied to damp concrete surfaces and is an ideal primer before the application of polyurethane waterproofing membranes.
The next layer should be applied after 6–12 hours, while the surface remains slightly tacky, in order to achieve optimum adhesion between the layers.
STEP 3
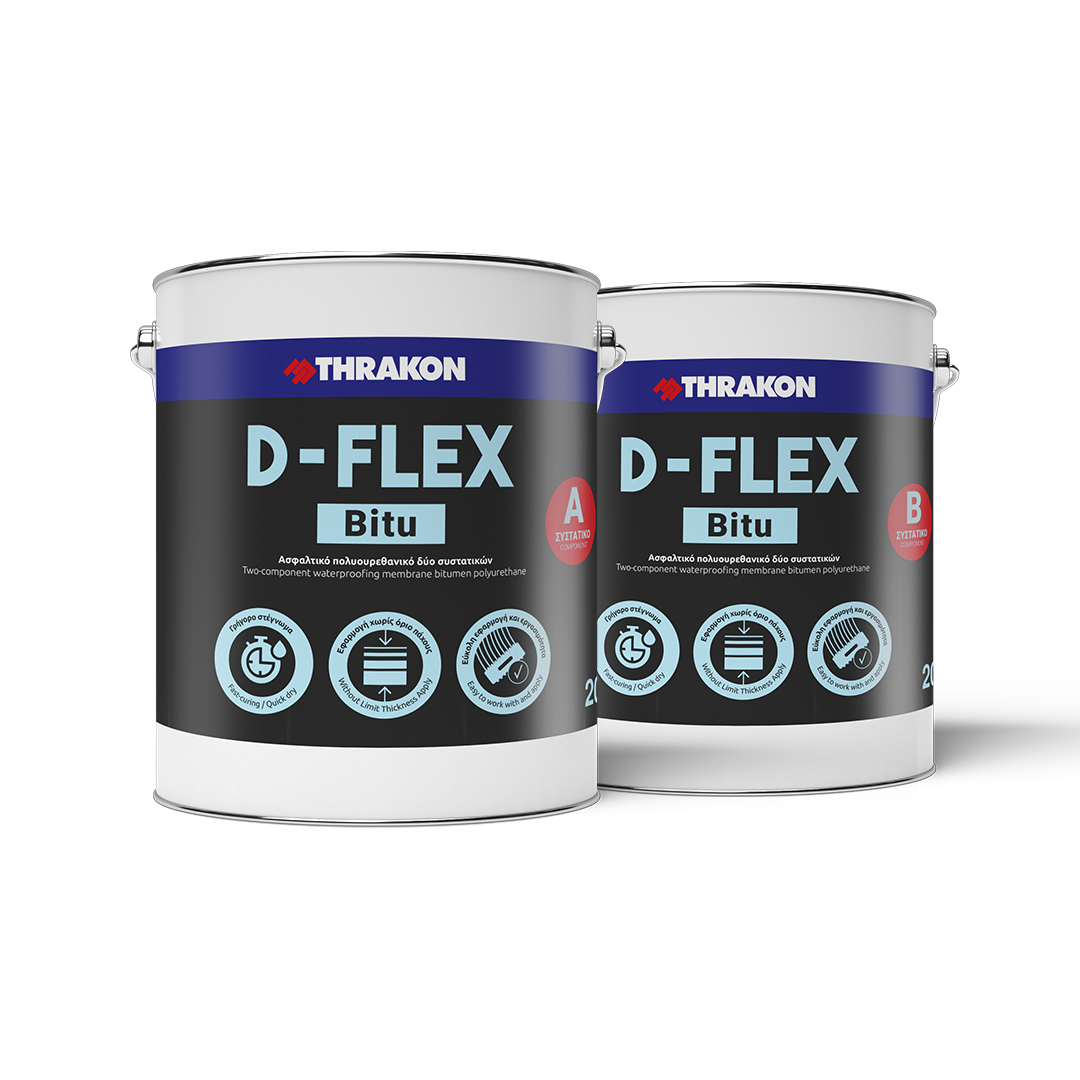
Waterproofing: Apply the two-component polyurethane-bitumen waterproofing membrane D-FLEX® BITU for the waterproofing and protection of horizontal and vertical surfaces against moisture and water.
The material is applied by roller, brush, notched trowel or mechanical spray in two successive coats, creating a continuous, elastic and seamless waterproofing membrane.
It can be applied in high thicknesses and effectively bridges cracks. It is suitable for waterproofing roofs, as well as for application underneath thermal insulation boards or tiles.
D-FLEX® BITU is characterized by fast curing, high elasticity, excellent mechanical properties and resistance to seawater and most chemicals, providing long-term and reliable waterproofing protection.
STEP 4
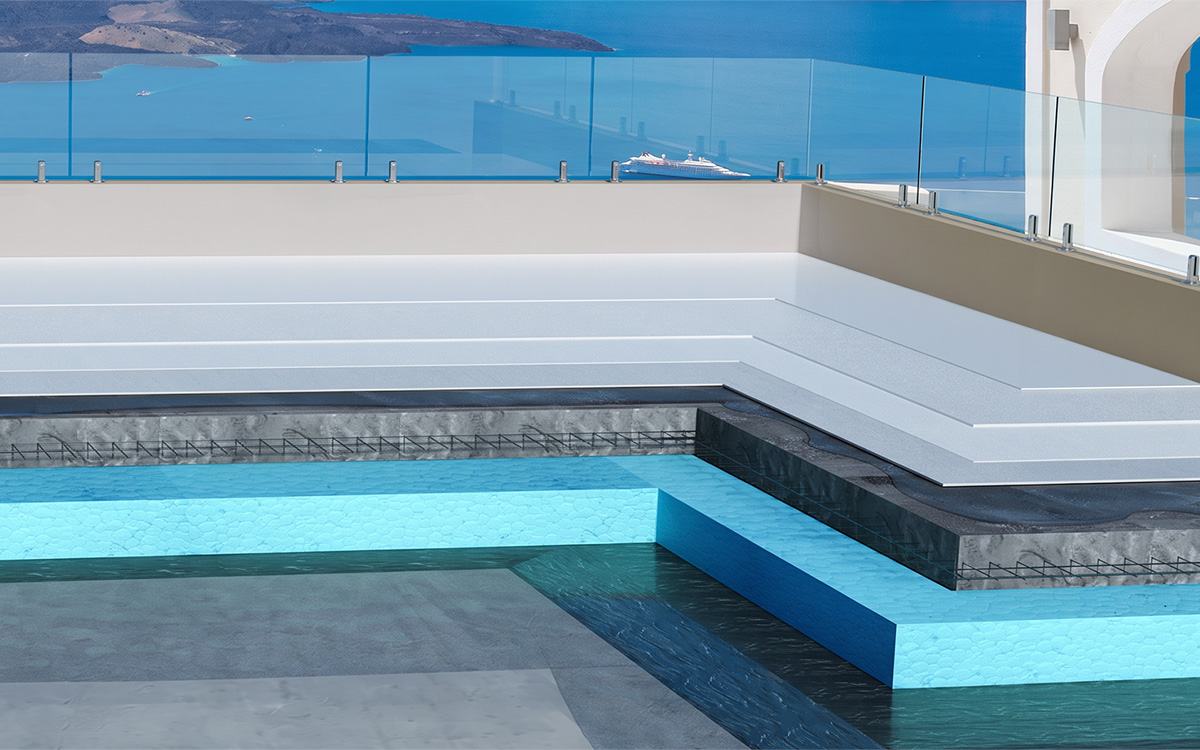
Installation of Thermal Insulation Boards: Install the 10 cm ULTRAPOR XPS thermal insulation boards. The boards are installed as the thermal insulation layer of the system, providing high thermal protection. Thanks to their low thermal conductivity and extremely low water absorption, they ensure stable and long-term performance.
STEP 5
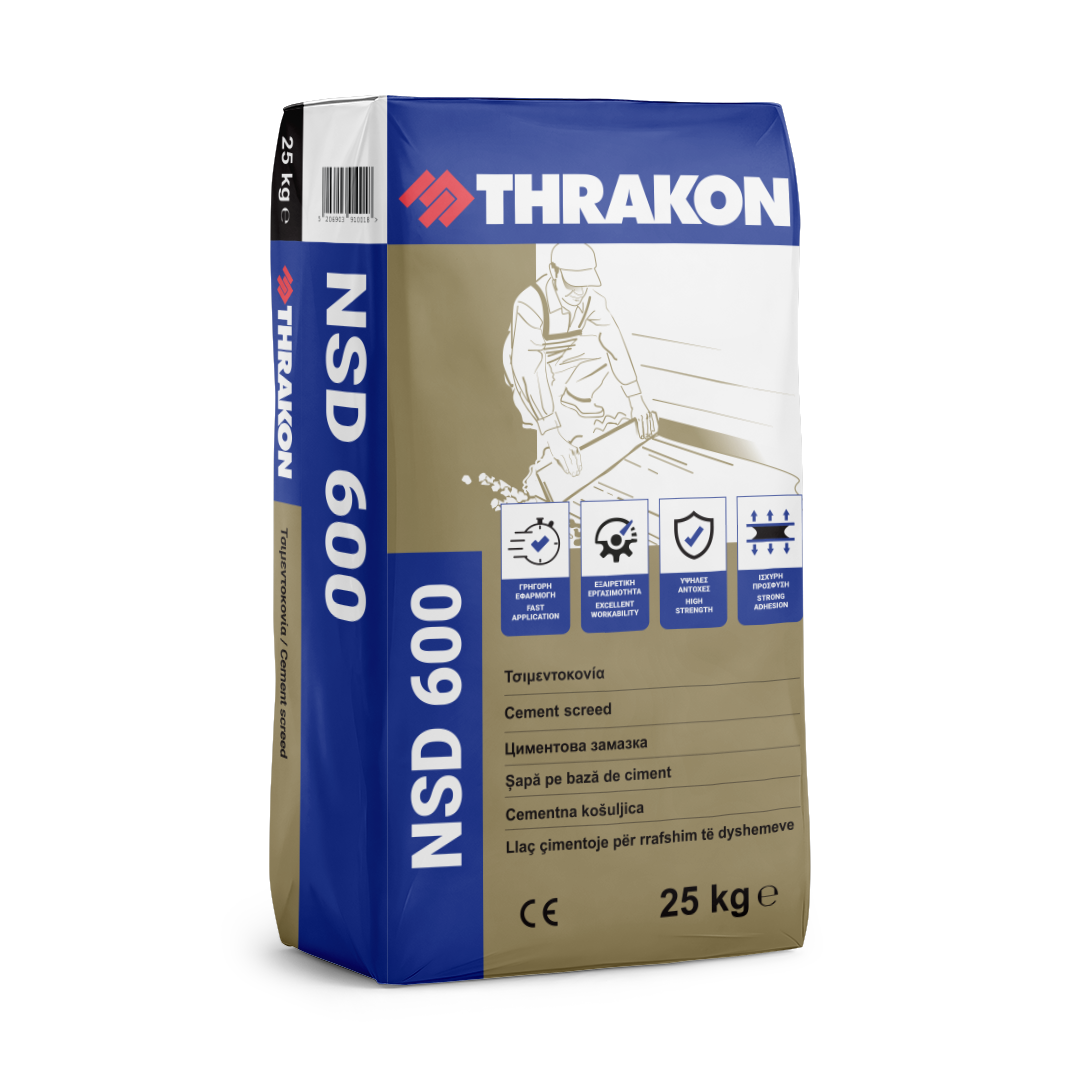
Floor Screed: Apply NSD 600 floor screed for floor levelling, smoothing and filling. The material can be applied mechanically using a continuous mixing machine or manually. It is evenly spread at a thickness of 3–10 cm, creating a strong and stable surface with high mechanical strength and strong adhesion to concrete. It is suitable for preparing floors prior to the installation of tiles, marble, parquet and other final floor finishes. NSD 600 offers excellent workability, can be applied on sloped surfaces and provides high compressive and flexural strength, ensuring a stable and reliable substrate.
STEP 6
Reinforcement Mesh: Install T131 structural reinforcement mesh, ensuring adequate overlap between sheets and securing them with binding wire.
The mesh should be placed on suitable spacers so that it is positioned within the upper third of the screed thickness and is completely covered by the screed.
STEP 7
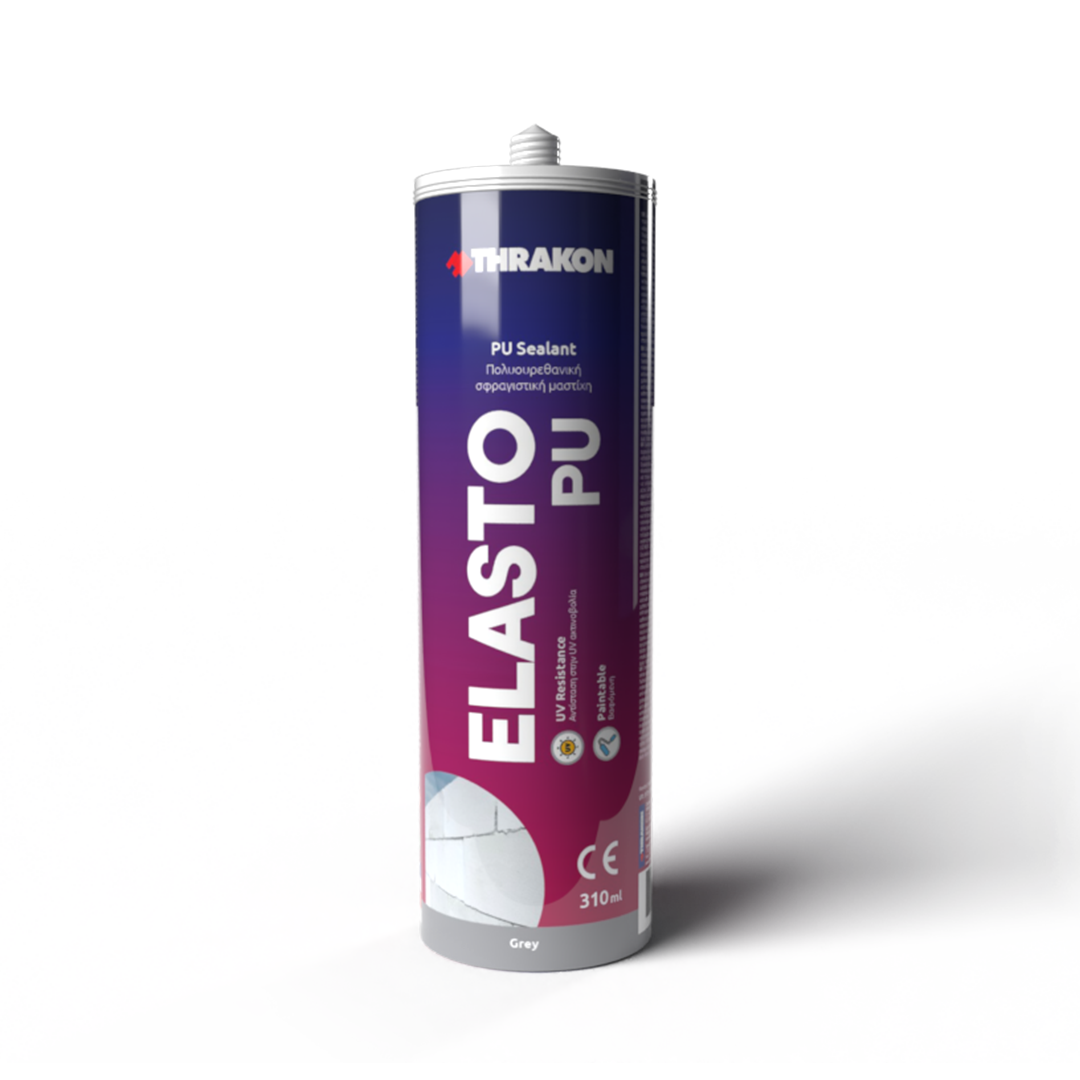
Expansion and Contraction Joints: Joints are incorporated into the screed to control shrinkage and expansion and prevent cracking. Perimeter joints are formed around walls and vertical elements using expanded polystyrene, while internal contraction joints are formed every 2.5–3 m or approximately every 10–15 m². The joints are formed during the hardening process or by cutting after the material has set. They are subsequently sealed using a polyethylene backer rod and elastic polyurethane sealant ELASTO PU. At perimeter joints, the expanded polystyrene remains in place and, where required, sealant is applied to the surface.
STEP 8
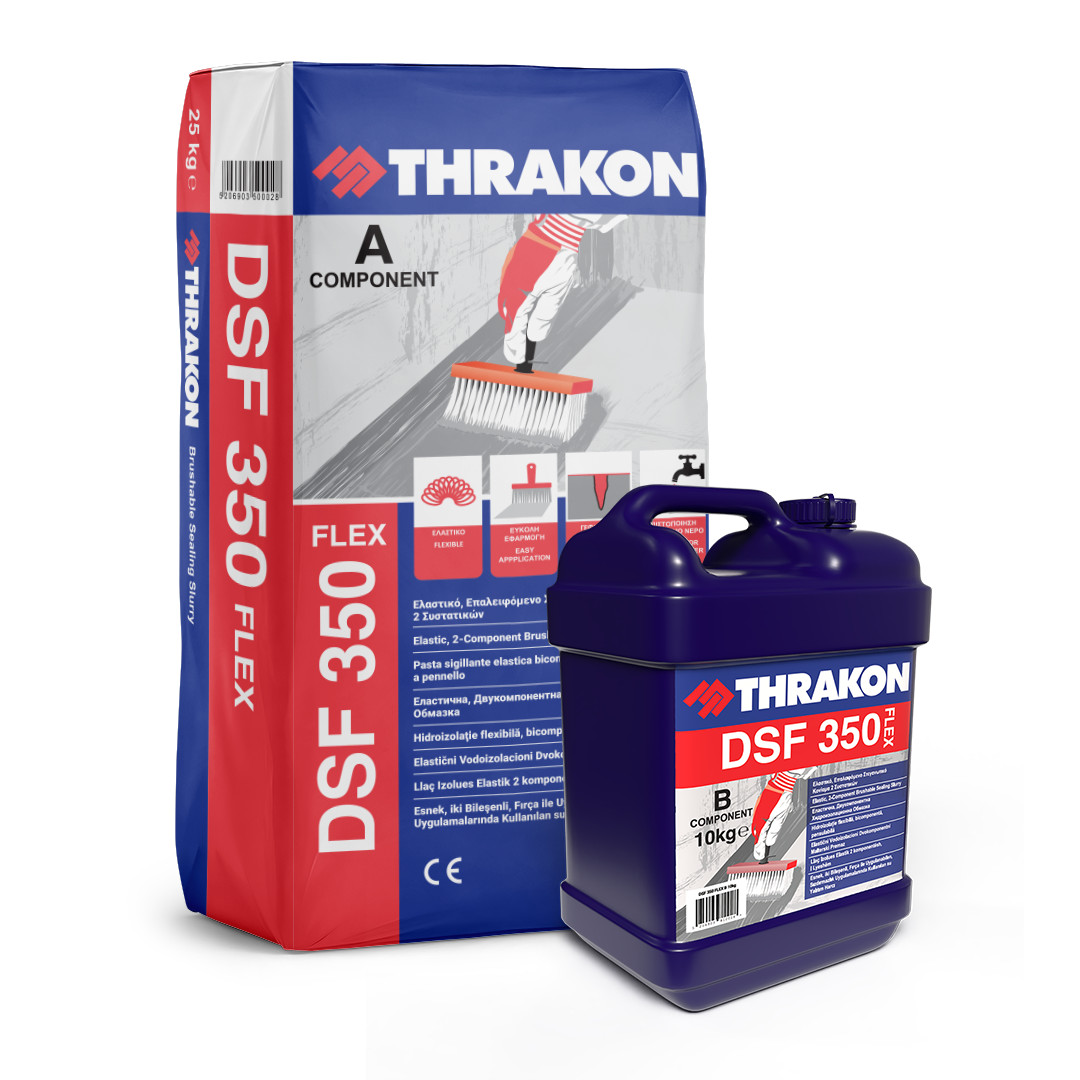
Waterproofing: Apply the two-component flexible waterproofing mortar FLEX DSF 350, ensuring good adhesion over the entire surface. Apply at least 2–3 crosswise coats, with a total thickness of at least 3 mm. Each coat should be applied after the previous coat has dried, approximately 4–6 hours, while avoiding an interval of more than 24 hours between coats. While the first coat of FLEX DSF 350 is still wet, install the THRAKON waterproofing tape (KF 12/7 or F 12/7) at corners, floor-to-wall junctions and connections with parapets, in order to ensure the bridging of critical points and the watertightness of the system.
STEP 9
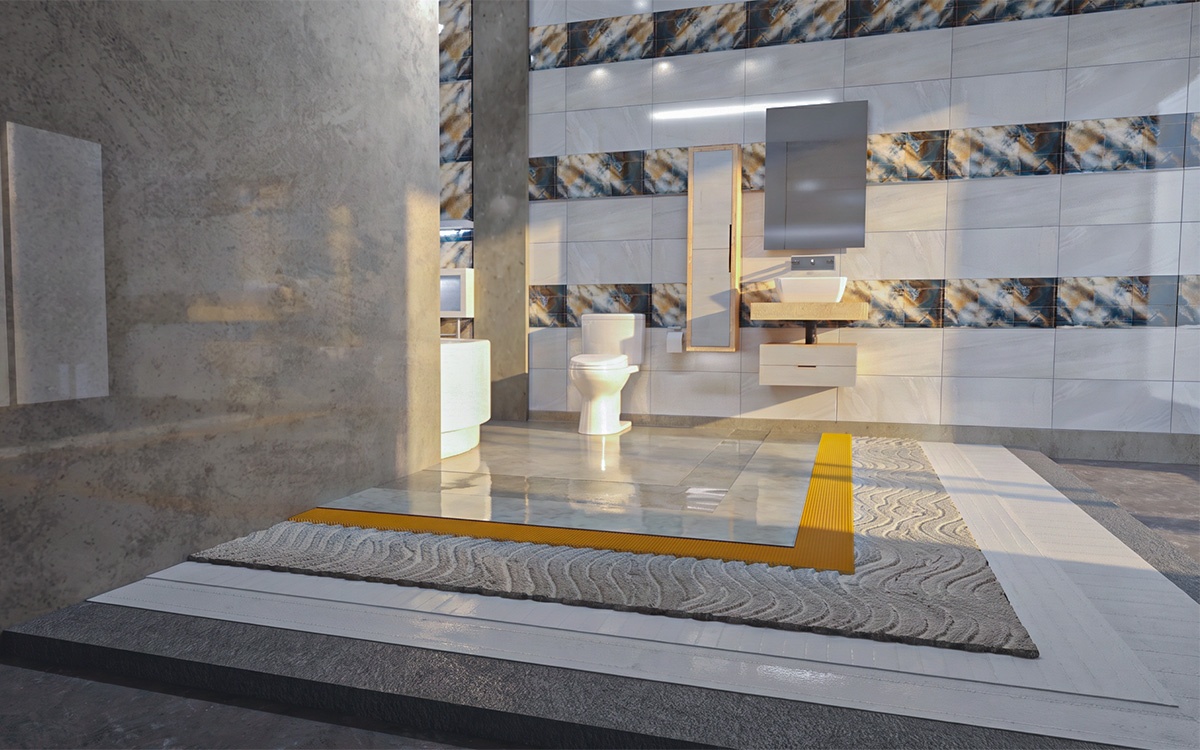
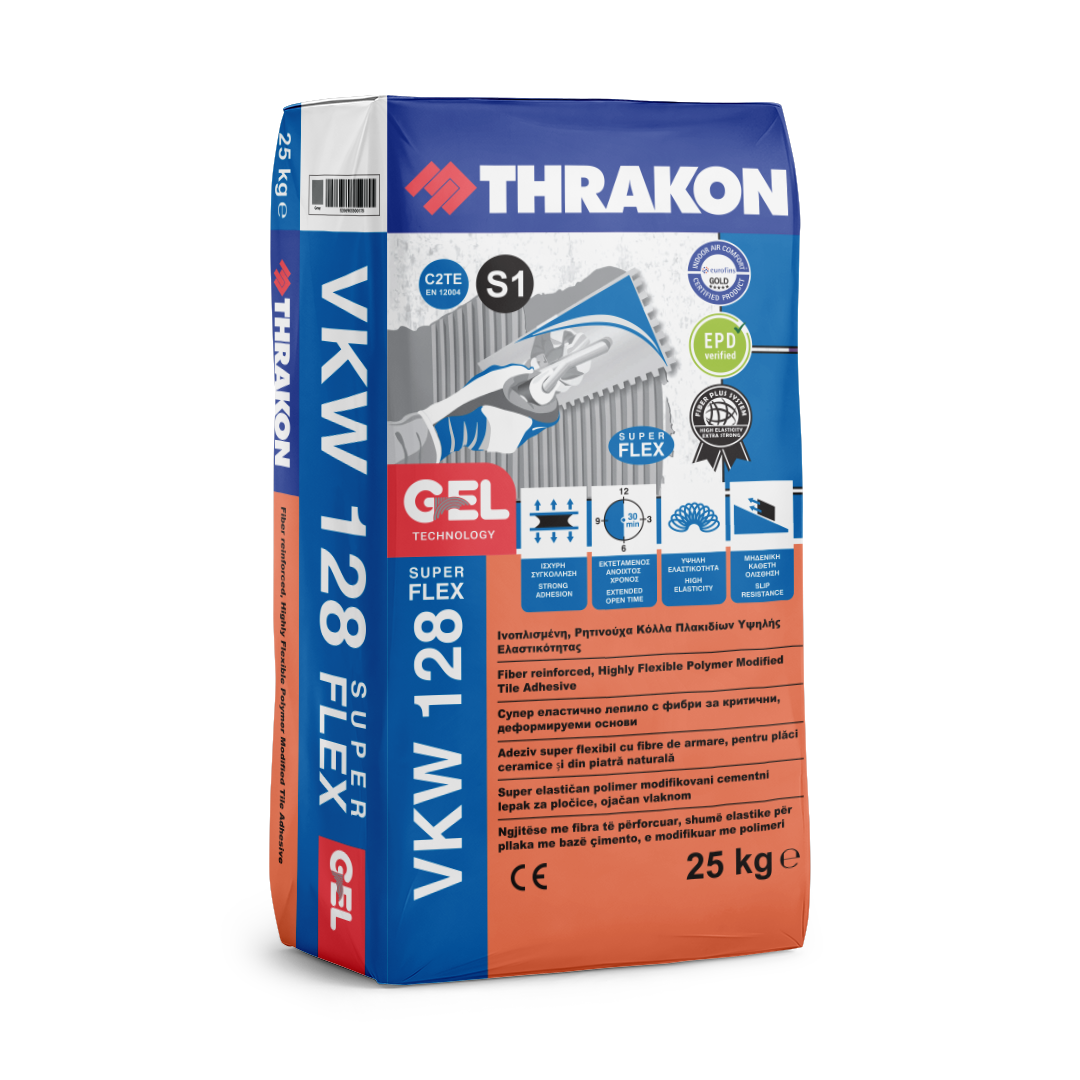
Tile Installation: After 24 hours, apply the resin-modified, highly flexible cement-based tile adhesive GEL SUPERFLEX VKW 128. The adhesive is prepared by mixing one 25 kg bag with 7.5–7.75 litres of clean water and remains workable for approximately 5 hours. The adhesive is applied in a layer up to 10 mm thick, spread evenly over the substrate and combed with a suitable notched trowel. The tiles should be installed within the adhesive's open time, which is approximately 30 minutes. Grouting of floor tiles is permitted after approximately 24 hours. The surface can also be opened to foot traffic after approximately 24 hours, depending on curing conditions and ambient temperature.
Full development of mechanical strength is achieved after approximately 14 days.
STEP 10
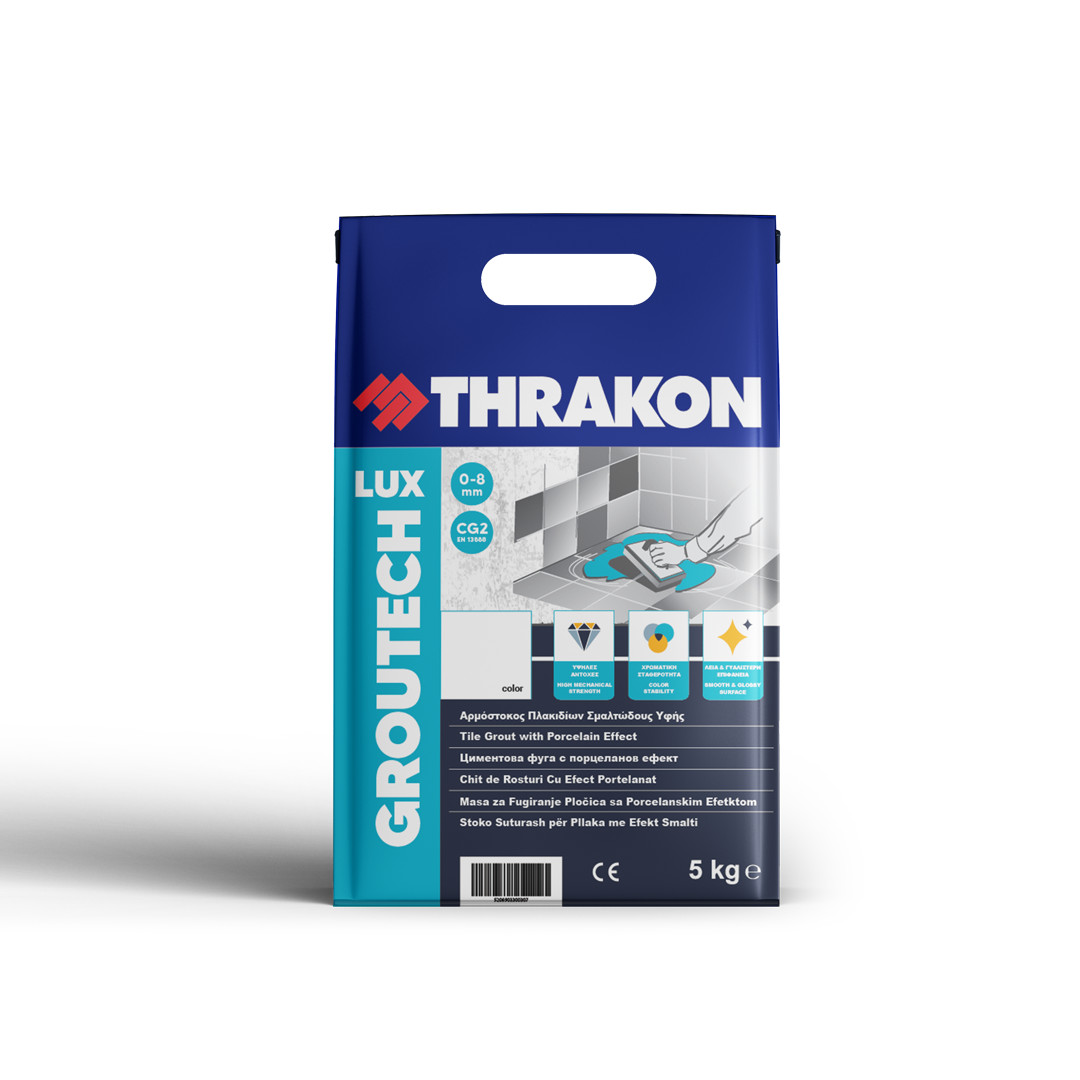
Grouting: After approximately 24 hours, grout the tiles using the coloured cementitious grout LUX GROUTECH FMF 160. Apply the material to clean and dry joints using a rubber float, ensuring their complete filling and uniform finishing. Remove excess material with a damp sponge before the grout has fully set. LUX GROUTECH FMF 160 provides high mechanical strength, excellent colour stability, water-repellent properties and protection against fungal growth. Note: Cementitious grout must not be applied to expansion joints. These joints must remain free and should be sealed with the elastic polyurethane sealant ELASTO PU.
Products Used
Bituminous PU Membrane
D-FLEX® Bitu
Two component, polyurethane-bitunimous liquid waterproofing membrane.