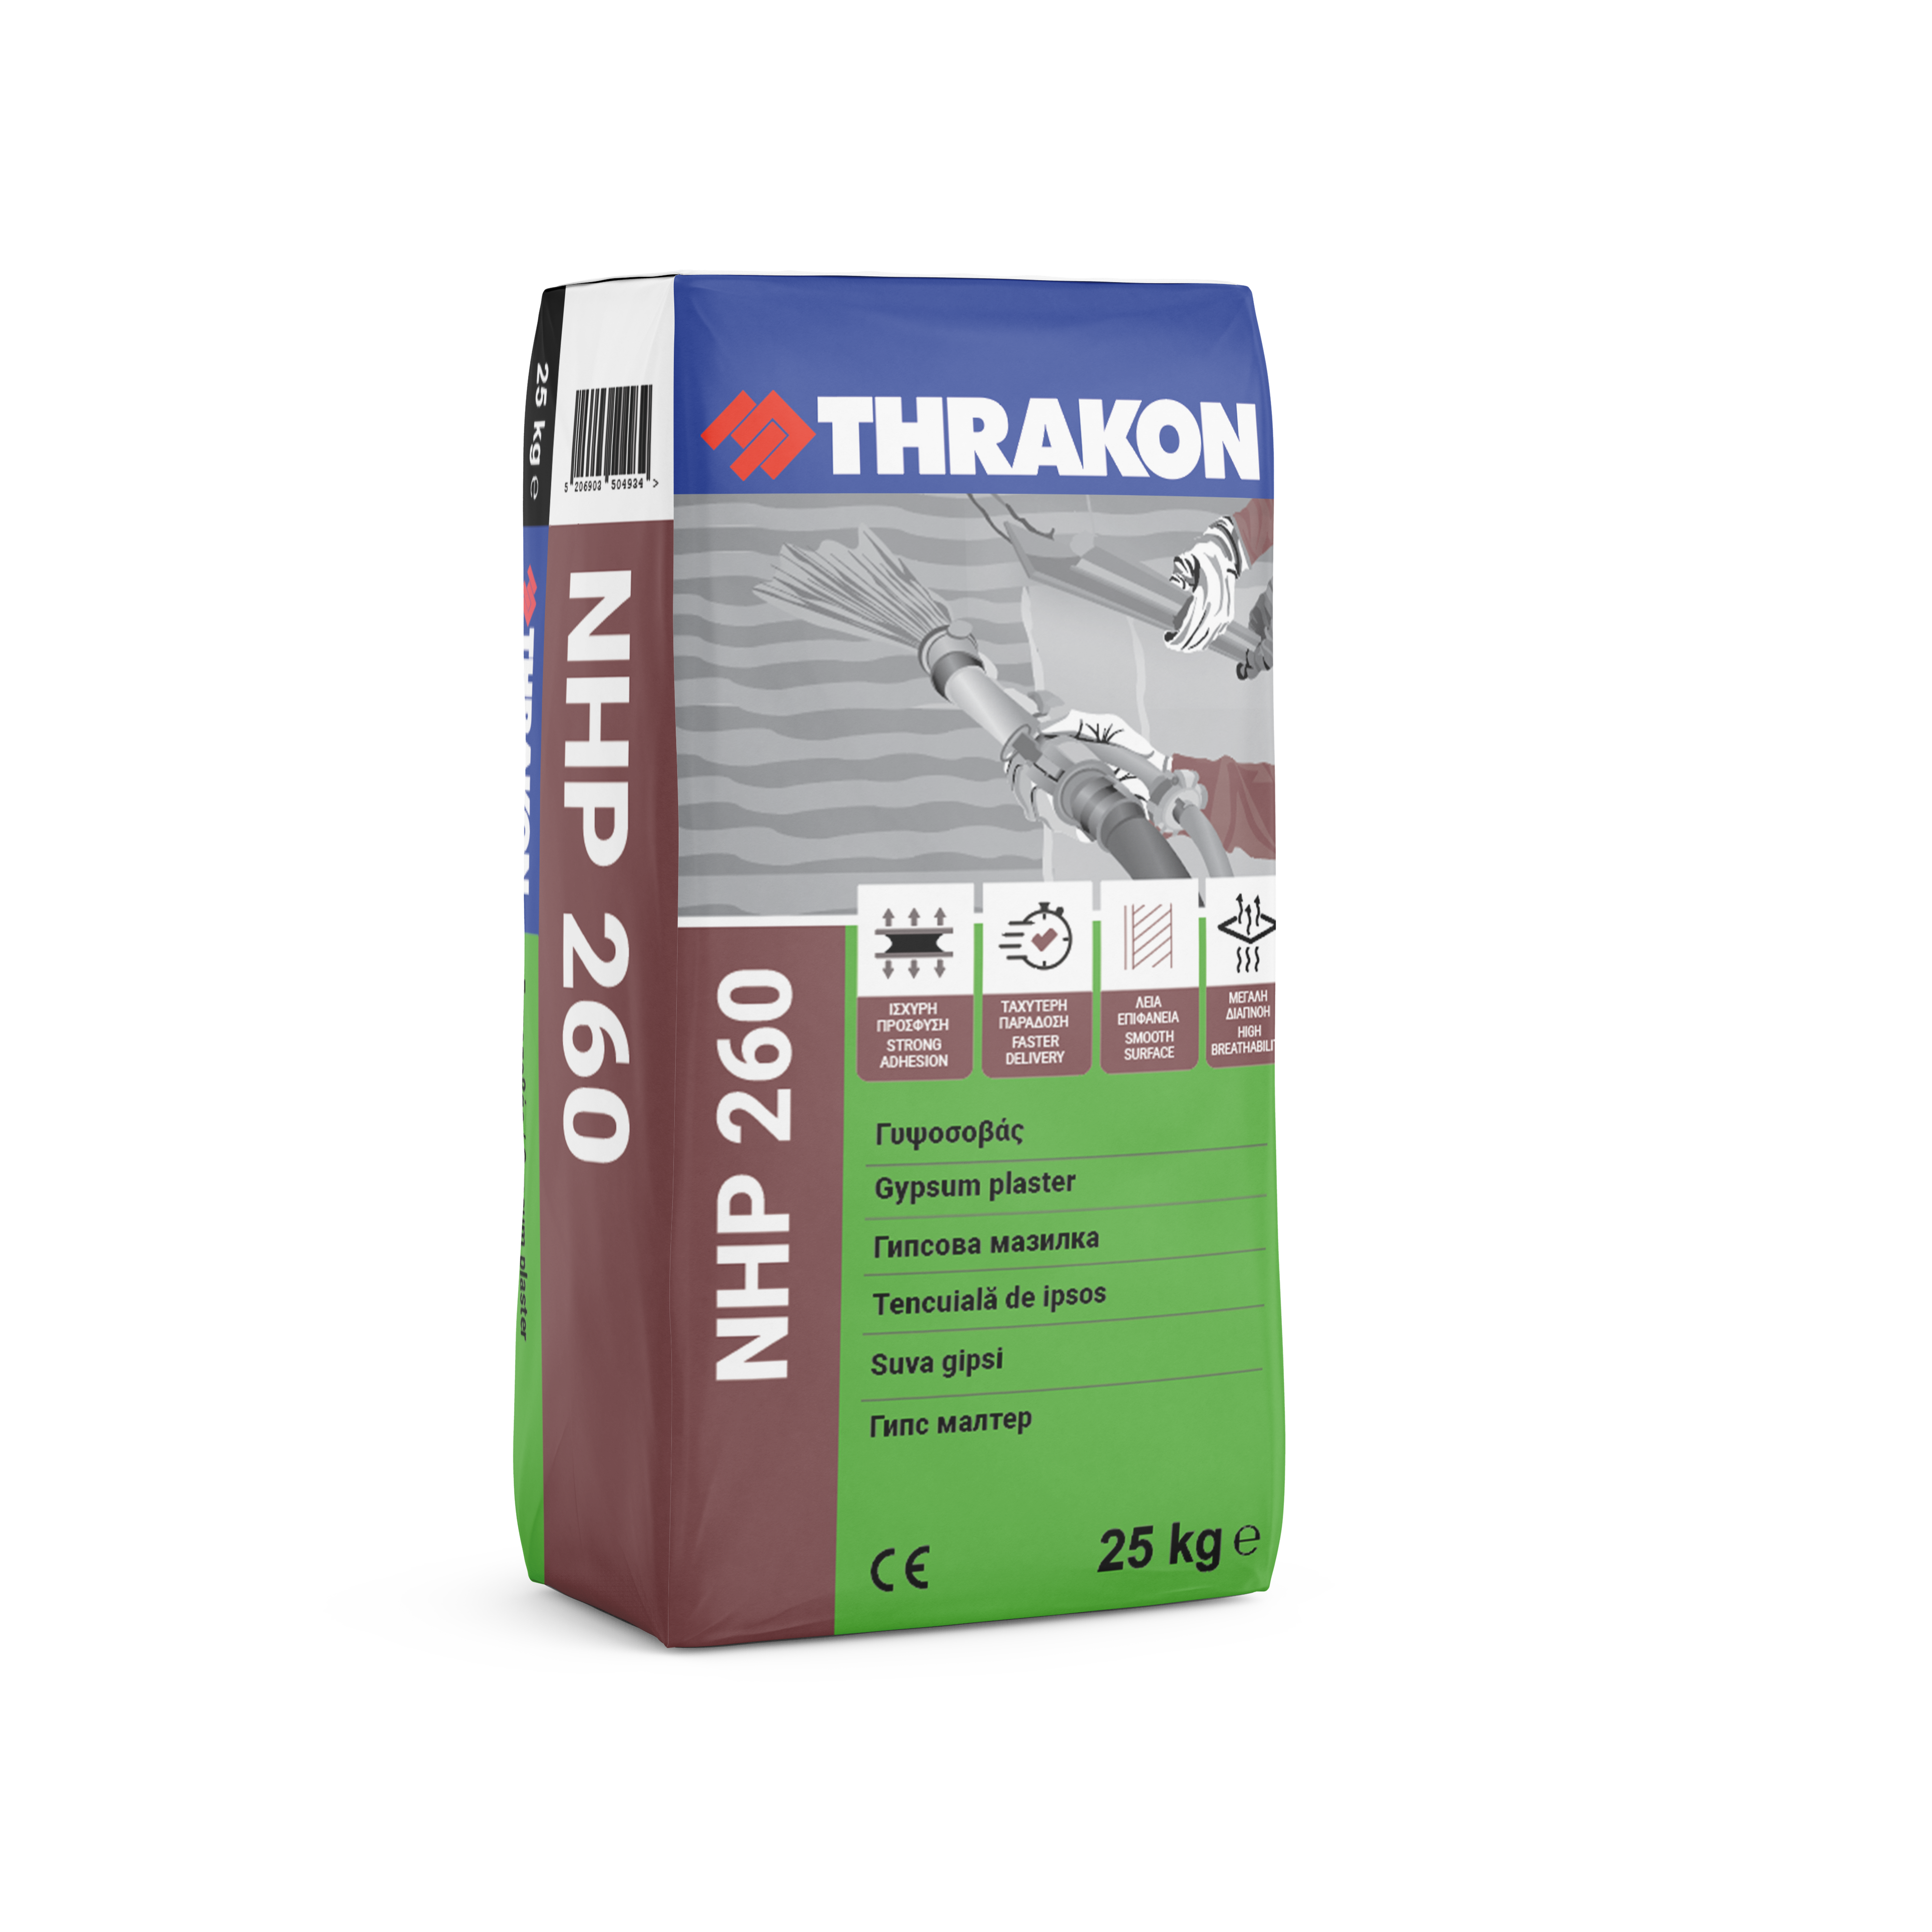
NHP 260
Gypsum plaster
One coat, ready mix gypsum plaster without perlite for indoor application
 Enlargement Enlargement
|
NHP 260
Description
NHP 260 is a one coat, ready mix gypsum plaster without perlite for indoor application. It consists of gypsum, hydrated lime, fine sands and additives. It is designed to create smooth surfaces with Q2 and Q3 quality class that are ready to receive thin-layer plasters, structural wall coverings or matt structural paints. It is also designed for application in rooms with W1, W2 and W3 humidity loading. Produced and controlled according to European standard EN 13279-1.
Application Fields
- It is applied to all standard interior plaster substrates such as solid and grid bricks, cement and autoclaved aerated concrete.
Advantages
- Replaces three coat plastering and traditional plaster.
- Faster completion of the project
- Increased profit for application teams and constructors
- Durable and crack-free surfaces
- Allows surface breathability
- Ensures excellent adhesion to the substrate.
- Excellent workability
- Excellent sag resistance properties
- Excellent smoothing – Extra fine surfaces ready for painting
- CE certified according to the European standard ΕΝ 13279-1
Application Steps
Application thickness ranges from 8 mm to 2.5 cm in one layer. If the thickness is greater, it is recommended that the application should be made in two layers. Ceilings thickness should be 8 mm - 1.5 cm.
Step 2The gypsum plaster is preferably applied with continuous mixing machine. Keeping the machine hose up, fill the spaces between the depth gauge beads and the other parts of the building. After that level the plaster using a metal darby (small surfaces with an American trowel) and create flat surfaces. When the plaster sets (approximately after one hour of application, depending on weather conditions), scrape and level the surface removing excess material. Then sprinkle the surface with water and sponge with a sponge float. After 10 -15 minutes using a metal (American type) trowel smooth the surfaces.
Step 3When the plaster has completely dried out (after 10-15 days) you can sand the surfaces with a special sandpaper (manually or with sander) in order to get an extra smooth result. The plastered surfaces should be ventilated sufficiently to dry evenly. If the surface of the plaster should be covered with tiles, then after the stage of leveling the plaster with a darby you don’t proceed with the next steps in order to provide a rough surface for better adhesion. When applying the tile adhesive, spread it on the plastered and primed surface and "comb" it following horizontal direction.
Storage
Stored in wooden pallets in dry environments at temperatures above 0°C for 6 months from the production date.